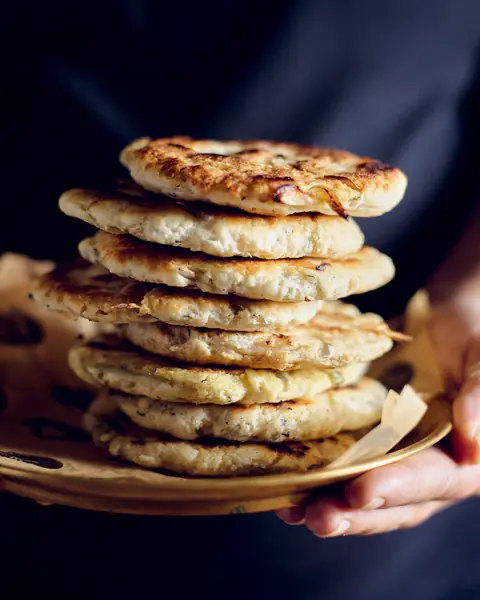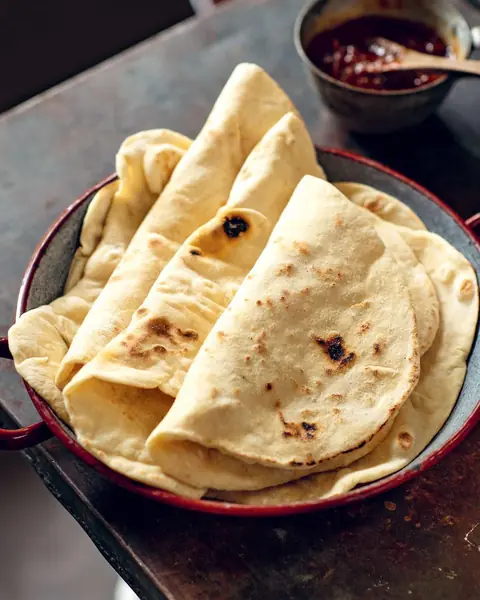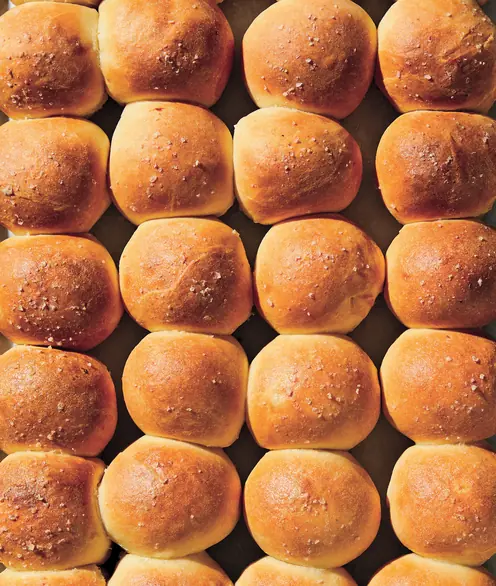

The dough for this type of roti is simple; the challenge lies in the technique of rolling and shaping the breads. You can make them flatter or more layered, depending how many times you pull and fold the dough – this is entirely a matter of preference (and perhaps dexterity). Because you only cook them briefly, the roti will be soft and a little flaky.
Serve as a side to curry or use to make a pretty special toasted sandwich or wrap. A lot of fat is used to coat the roti, and this will become the dominant flavour. I use coconut oil but be careful here as it must be a good-quality one. You can use other fats, such as vegetable oil and ghee, or a combination for a more subtle approach.
Ingredients 4
Your new home
for cooking
Turn your recipe chaos into a plan for the week.
Browse 1000+ inspiring creator recipes
Unlimited recipe import from social media, blogs and more
Generate shopping lists and meal plans in seconds with AI
Method 8
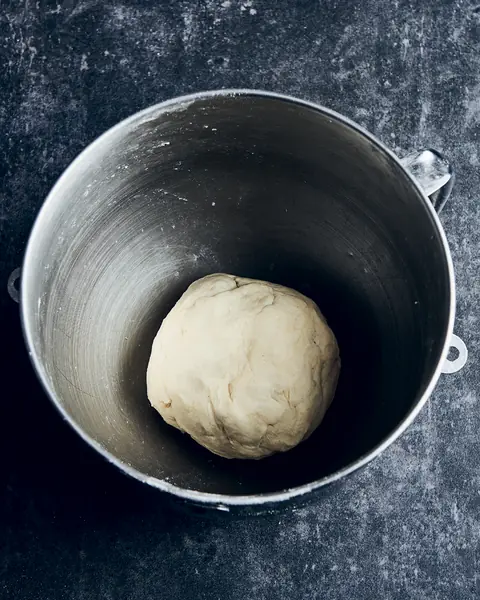
Combine the and in a mixing bowl, then slowly mix the , kneading, until it just comes together to form a dough; the exact quantity of water will depend on your flour so add it gradually and keep an eye on the consistency.
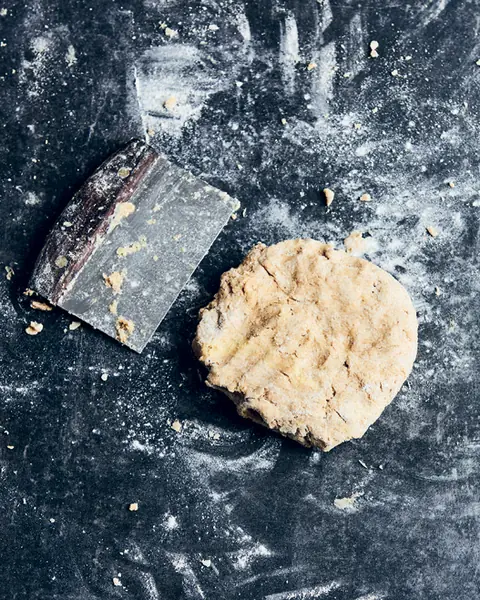
Turn it out onto a bench and knead for 2–3 minutes until you have a smooth, non-sticky dough.
Divide the dough into eight even pieces and roll each one into a ball. Pour the into a container that will fit the balls snugly, then add the dough balls. You want them to be almost completely submerged in the fat. Roll the balls around so they are well coated in oil, then cover with a tea towel (dish towel) or lid and leave at room temperature for at least half an hour. You can, however, happily leave the balls sitting in oil at room temperature overnight, to roll and cook the next day.
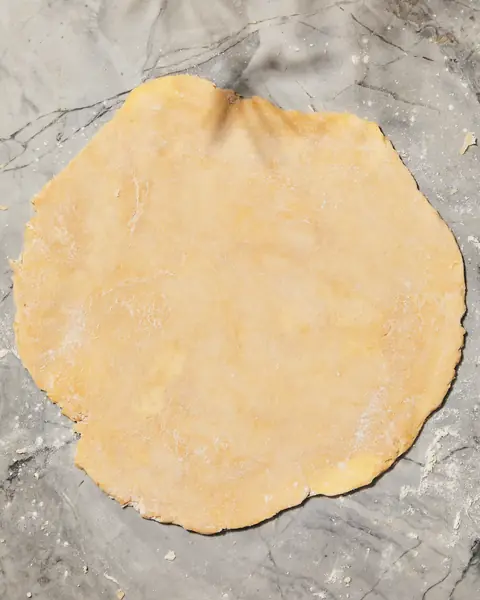
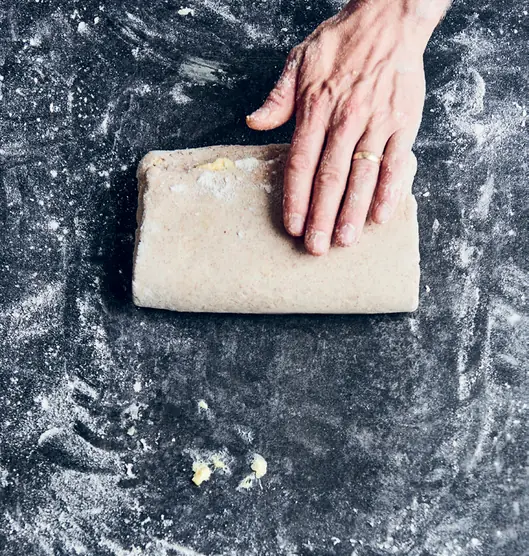
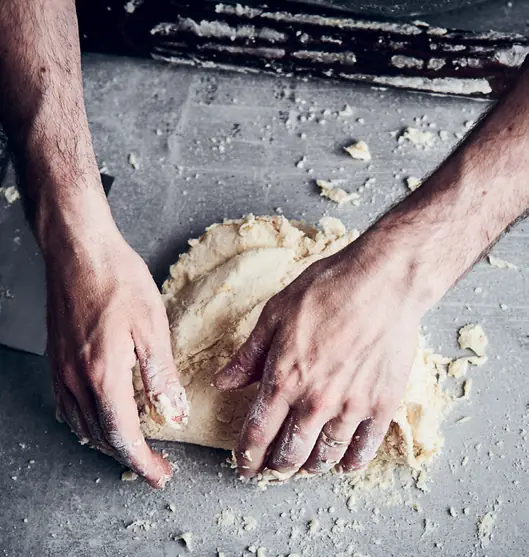
When you are ready to cook, start by making sure you have a clean bench. Remove one ball of dough from the oil, place it on the bench in front of you and use your fingertips to flatten it into a rectangle. With your fingers, gradually push out the dough evenly on all sides, maintaining a rectangular shape. At this stage it becomes a matter of gentle teasing, pushing and pulling the dough until it becomes a large paper-thin piece that you can see through (like strudel dough). Don’t worry if you tear some small holes.
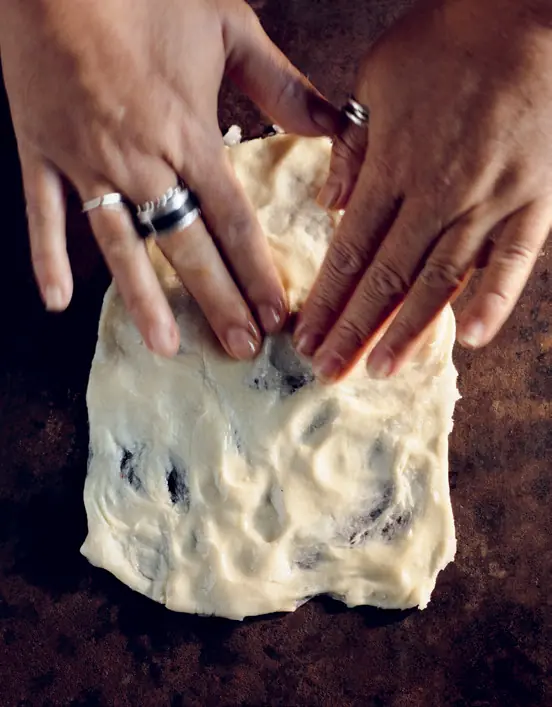
Fold the top edge into the middle, and repeat with the bottom edge, then fold in the two sides to form a neat rectangle (approximately 20 cm x 15 cm/8 in x 6 in). Transfer to a baking tray and repeat with the remaining dough balls. Add layers of baking paper if you need to stack them.
By the time you have finished shaping all the dough, the roti will have had time to rest and shrink a little. You can just flatten them out again, or repeat the pushing out and folding technique once more to give a flakier texture.
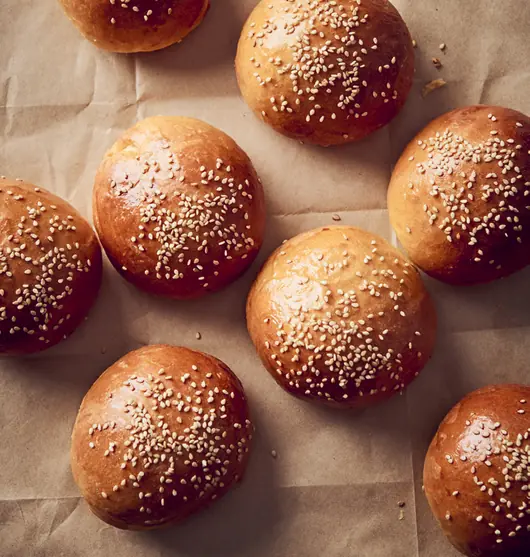
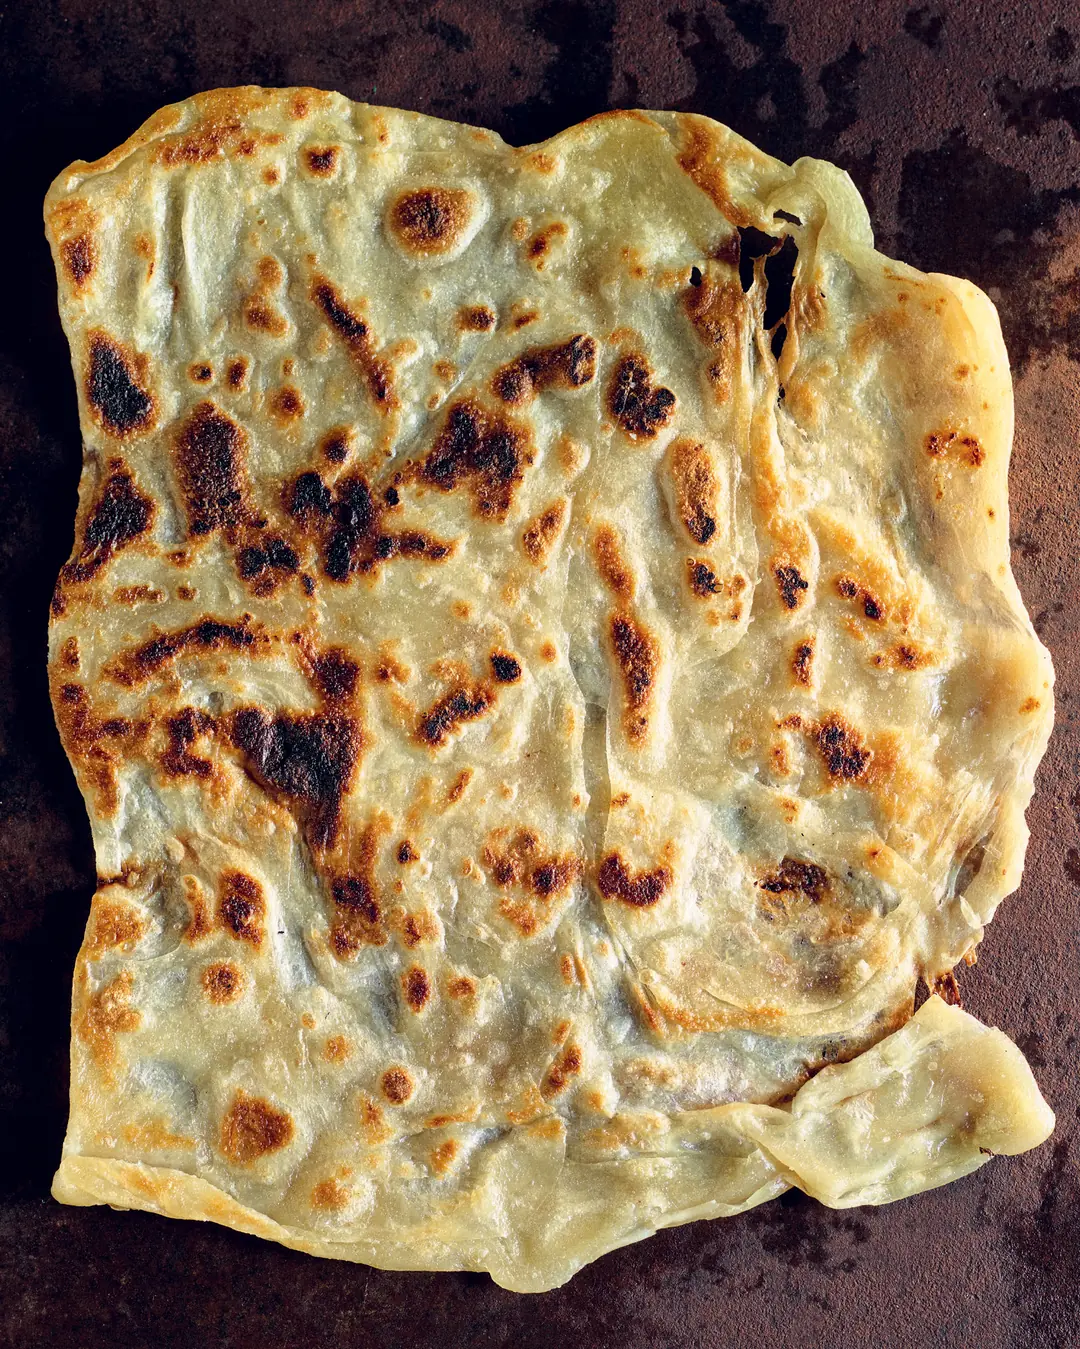
Heat a barbecue flat plate or a large frying pan over a medium heat (no need for extra oil). Cook the roti for 1 minute or until patches of colour start to appear, then flip and repeat on the other side. Don’t cook them for too long as they should be soft rather than crisp.
Eat hot or warm.

O Tama Carey's tips
The cooked roti will keep in the fridge for a good few days, and also freeze very well. Make sure you freeze them flat for best results. If you are cooking the roti ahead of time, gently rewarm them in a low oven before serving. You could also
brush them with some ghee and cook on both sides in a pan for a slightly crisper finish.