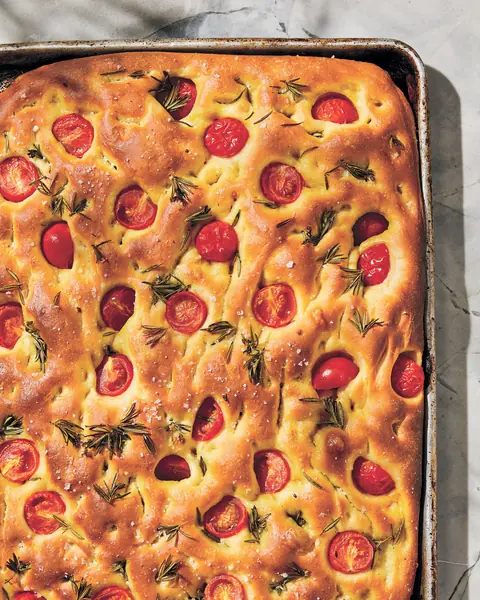

This crowd-pleaser is a great introduction to bread making. It’s baked in a tray so no technical shaping skills are required. Kids love to get their hands into the dough and have fun arranging the toppings. Olive and rosemary is a classic combination, but I also love it with onions, anchovy, tomato or roasted garlic and a drizzle of balsamic vinegar.
The dough can be made by hand or in an electric stand mixer, although the dough will be stronger if made in a mixer. Instructions for both methods are included. I prefer to use a deep-sided tray for baking this, so the dough and oil are contained. This also helps the edges crisp up better during the bake and it won’t dry out after baking.
Makes 1 loaf.
Ingredients 8
Dough
Topping
Your new home
for cooking
Turn your recipe chaos into a plan for the week.
Browse 1000+ inspiring creator recipes
Unlimited recipe import from social media, blogs and more
Generate shopping lists and meal plans in seconds with AI
Method 15
By Hand
To make the dough by hand, combine the , 410 g (14½ oz) of the , and in a medium bowl. Mix with your hands until you have a cohesive mass, then scrape down the bowl with your hands. Stretch and fold the dough for about 5 minutes to build up the dough structure.
Use the windowpane test to check the dough: Take a small piece of dough and stretch it between your hands – it should stretch enough to be almost transparent without breaking. Once it is getting stronger and if it is not too sticky, mix in the remaining 50 g (1¾ oz/2½ tablespoons) followed by the . Continue mixing for a further 5–6 minutes. The dough will be quite wet and sticky, but don’t worry; the pan will hold it together.
Using Mixer
To make the dough in a mixer, combine the flour, 410 g (14½ oz) of the water, starter and salt in the bowl. Mix with the dough hook on medium speed for 5 minutes, or until it all comes together.
Scrape down the side of the bowl, then add the remaining 50 g (1¾ oz/2½ tablespoons) water and the . Continue to mix on medium speed for 5 minutes, or until the dough is smooth and quite elastic. Check the dough with the windowpane test (see Step 2).
Cover the dough in the bowl with a damp tea towel (dish towel) and rest for 30 minutes at room temperature.
Folding The Dough
The dough is now ready to be folded. Give the dough a set of folds every 30 minutes for the first 2 hours. To fold, wet your hands, then use one hand to hold the bowl and the other to fold. Grab a piece of dough on the side of the bowl, then pull and stretch it up and over the middle to the other side of the bowl. Repeat this six to eight times, moving around the edge of the bowl. Cover and rest the dough between each set of folds. It should become very strong and stretchy over time.
After the last set of folds, cover and rest the dough in a warm place for 2 hours. Ideally the temperature should be around 24–26°C (75–79°F). If the room is too cold, put the dough in your (cold) oven with the light on, with a tray of hot water at the bottom to create warmth and humidity.
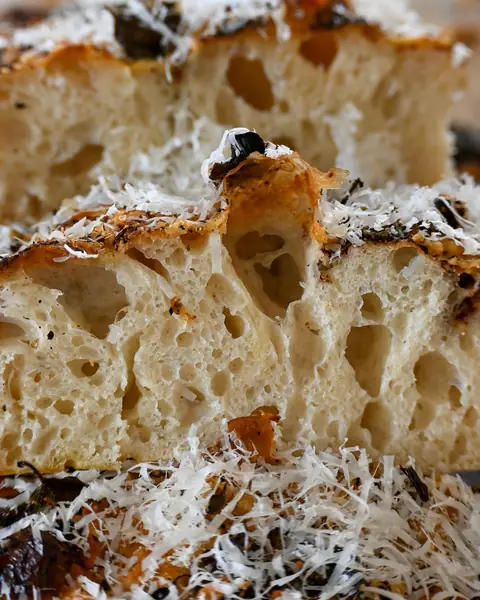
When it’s ready, you should see pockets of air on the surface of the dough and it should wobble if you shake the tray. Another test is to gently poke the dough. If your fingertip leaves a dent, it’s ready, but if the dough springs back quickly, cover again and give it more time.
If you want to bake your focaccia the next day, cover it with a damp tea towel and refrigerate. When you are ready to bake, let it come up to room temperature and finish proving as below.
Proving
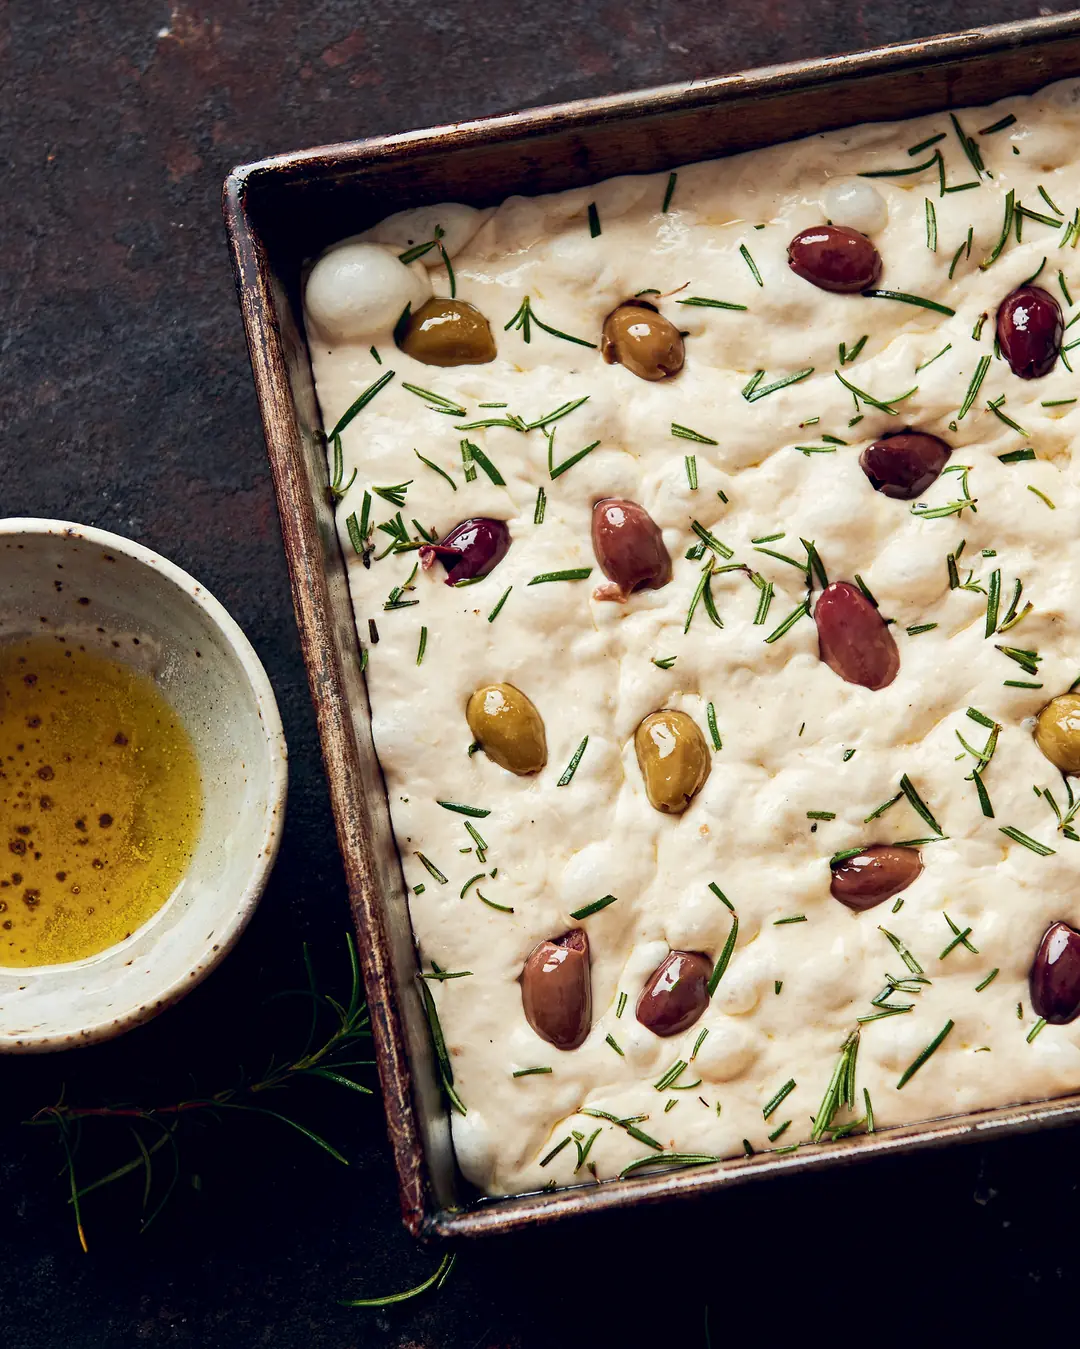
Line a 22.5 × 33 cm (9 × 13 in) deep-sided baking tray with baking paper or grease with a generous amount of . Wet your hands and put the dough in the middle of the tray, then use your fingertips to gently stretch the dough into the corners so it is fairly even in depth.
Cover and leave in a warm place to prove. The proving time is variable and depends on the temperature of the room: if it’s cool, let it prove longer; if it’s warm, you will be able to bake sooner. As a guide, it should take 1½–2 hours if the temperature is around 24–26°C (75–79°F). The dough is ready when it has risen by half and is nice and bubbly – it should wobble slightly if you shake the tray. Use the fingerprint method, as above, to check if the dough is ready.
Baking
Preheat the oven to 230°C (450°F) about 20 minutes before you are ready to bake. Put one shelf at the top of the oven for the focaccia and one below with a small shallow tray on it for the water.
Drizzle a little over the top of the focaccia. Oil your fingertips and gently push them into the dough until you can feel the bottom of the tray, then repeat, leaving space between each press. Scatter over the and , then press the gently into the dough, leaving them exposed on top.
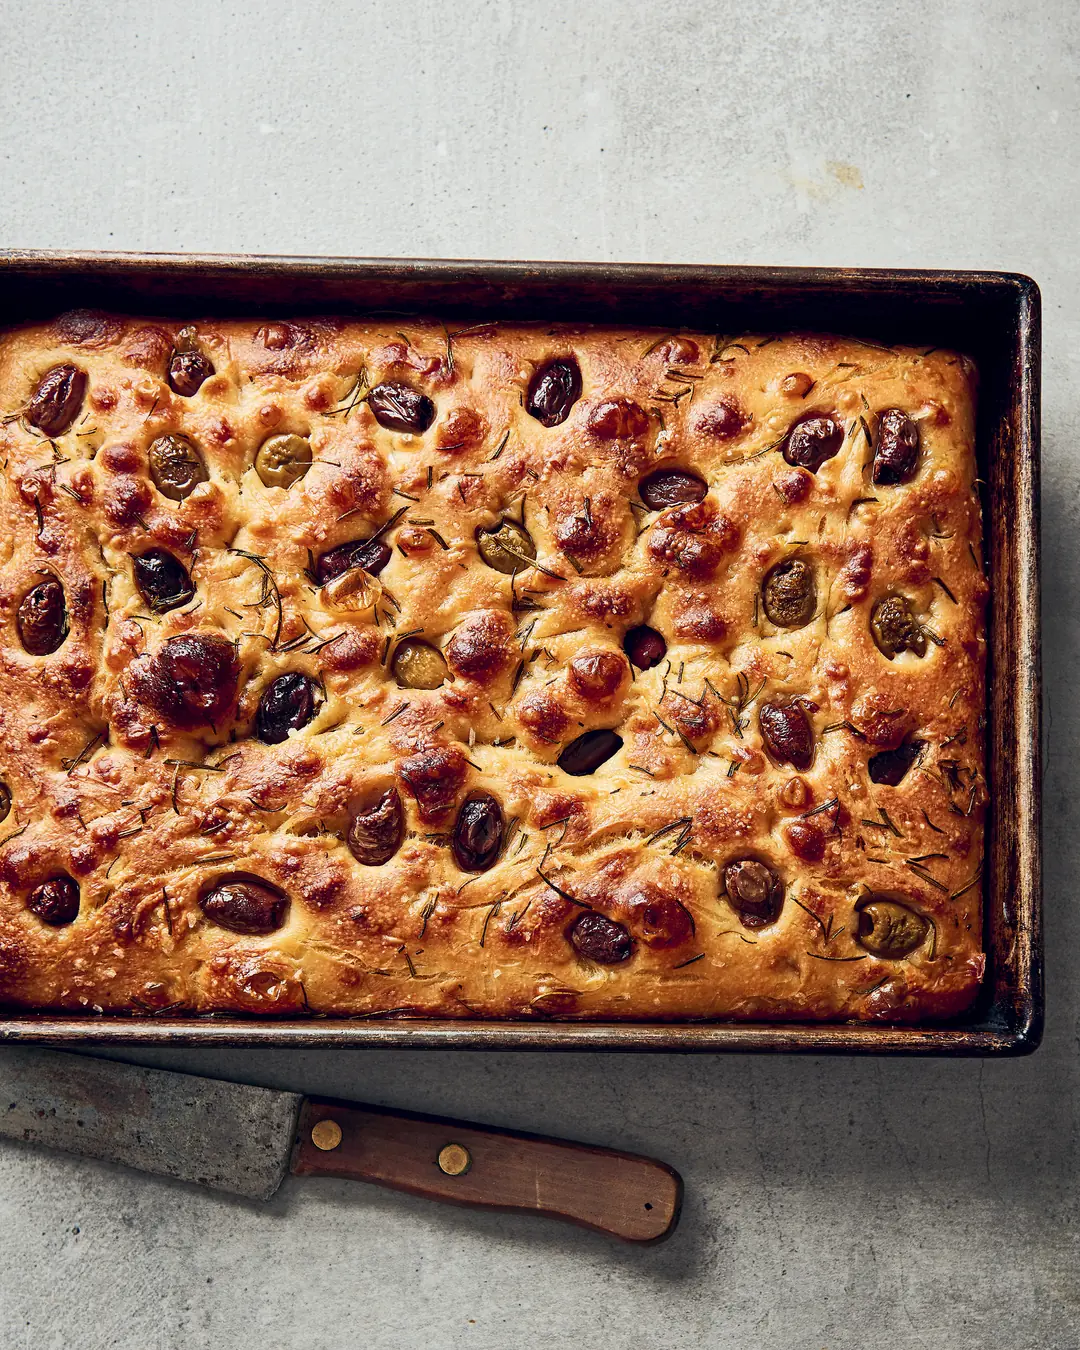
Put the focaccia on the top shelf and pour 100 g (3½ oz) boiling water into the tray on the bottom. This will create steam, which will help the dough rise during the initial part of the bake. Bake for 25–28 minutes until golden on top, turning the tray and removing the steam tray halfway through the bake.
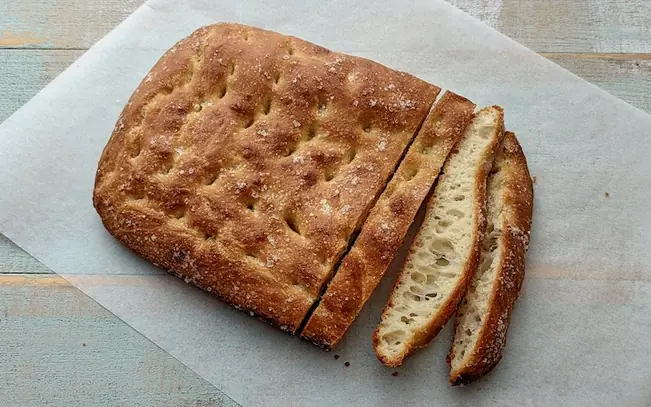
Leave to cool in the tray for a couple of minutes, then tip it out onto a wire rack. This focaccia is wonderful to eat while still hot from the oven, but will keep well, wrapped in cloth or a paper bag, for a few days – that’s if you manage to resist eating it all on day one.

Urbanstead's tips
The key to success here is a healthy sourdough starter fed at least three times before using it. I feed it the night before and then make the dough first thing in the morning.
I recommend the following feed schedule:
Day 1: Take 20 g (¾ oz/1 tablespoon) Sourdough starter (see my Starter recipe) and feed it with 20 g (¾ oz/1 tablespoon) water plus 15 g (½ oz/1 tablespoon) bakers (strong) flour.
Day 2: Feed your starter in the morning with 20 g (¾ oz/1 tablespoon) water and 15 g (½ oz/1 tablespoon) bakers (strong) flour. In the evening, feed it with 40 g (1½ oz/2 tablespoons) water plus 30 g (1 oz/2 tablespoons) bakers (strong) flour. This will give you enough starter for the recipe plus a little left over for continuation.
Day 3: Start the focaccia in the morning following the method, when the starter is ripe and bubbly from its previous feed.