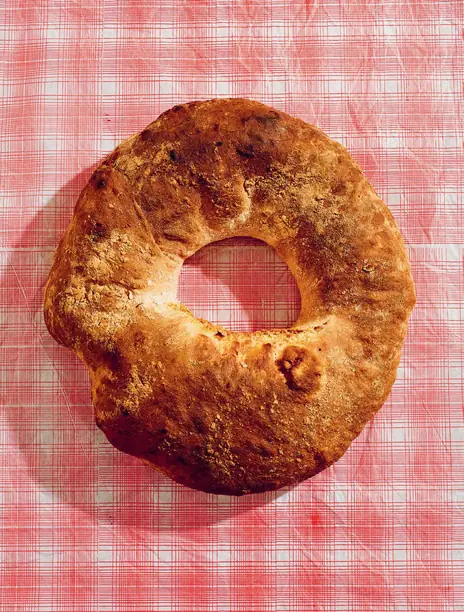

Born in and around the wine-growing areas of Florence and the Chianti, this delicious bread is a tradition governed by the very seasonal nature of grapes in Italy, and one that also has an extremely close tie with the wine harvest in autumn.
For one or two fleeting months of the year from September to October, the appearance of schiacciata all’uva in Florence’s bakery shop windows is a sign that summer is over and the days will begin to get noticeably shorter. This sticky, sweet focaccia-like bread, full of bright, bursting grapes, is a hint that winemakers are working hard at that moment harvesting their grapes and pressing them. And then, as suddenly as it appeared, the grape focaccia is gone, not to be seen again until the following September.
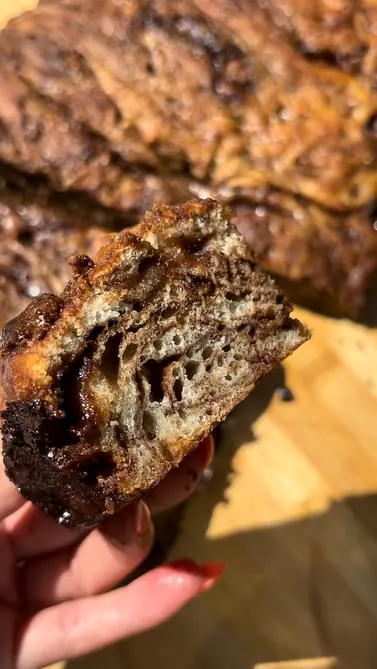
These days, it is usually made with fragrant, berry-like concord grapes (uva fragola) but sometimes you’ll still find it made with native Tuscan wine grapes known as canaiolo – the small, dark grapes make up part of the blend of Chianti wine, playing a supporting role to sangiovese. These grapes stain the bread purple and lend it its juicy texture and sweet but slightly tart flavour. They are also what give the bread a bit of crunch, as traditionally the seeds are left in and eaten along with the bread.
Makes 1 large schiacciata, serves 6-8.
Ingredients 8
Your new home
for cooking
Turn your recipe chaos into a plan for the week.
Browse 1000+ inspiring creator recipes
Unlimited recipe import from social media, blogs and more
Generate shopping lists and meal plans in seconds with AI
Method 19
Preparing The Dough
This can be done the night before you need to bake it, or a couple of hours ahead of time.
Sift the into a large bowl and create a well in the centre.
Dissolve the in about 125 ml (4½ fl oz/½ cup) of the lukewarm .
Add the yeast mixture to the centre of the and mix with your hand or a wooden spoon. Add the rest of the lukewarm little by little, working the dough well after each addition to allow the flour to absorb all the water.
Add 1 tablespoon of the extra-virgin olive oil to the dough and combine.
This is quite a wet, sticky dough. Rather than knead, you may need to work it with a wooden spoon or with well-oiled hands for a few minutes until it is smooth.
Cover the bowl of dough well with some plastic wrap and set it in a warm place away from draughts until it doubles in size, about 1 hour. If doing this the night before, leave the dough in the bowl to rise in the fridge overnight.
Assembling The Schiacciata
Separate the from the stem, then rinse and pat dry. There’s no need to deseed them if making this the traditional way (see my tips).
Preheat the oven to 190°C (375°).
Grease a 20 cm × 30 cm (8 in × 12 in) baking tin or a round pizza tray with .
With well-oiled hands, divide the dough into two halves, one slightly larger than the other. Place the larger half onto the greased pan and with your fingers, spread the dough out evenly to cover the pan or so that it is no more than 1.5 cm (½ in) thick.
Place about two-thirds of the onto the first dough layer and sprinkle over half of the , followed by about 30 ml (1 fl oz) of the and ½ teaspoon of the , if using.
Stretch out the rest of the dough to roughly the size of the pan and cover the with this second layer of dough, stretching to cover the bottom surface.
Roll up the edges of the bottom layer of dough from underneath to the top, to seal the edges of the schiacciata. Gently push down on the surface of the dough to create little dimples all over.
Cover the top with the rest of the and evenly sprinkle over the remaining , and .
Bake for about 30 minutes or until the dough becomes golden and crunchy on top and the are oozing and cooked.
Remove from the heat and allow to cool completely.
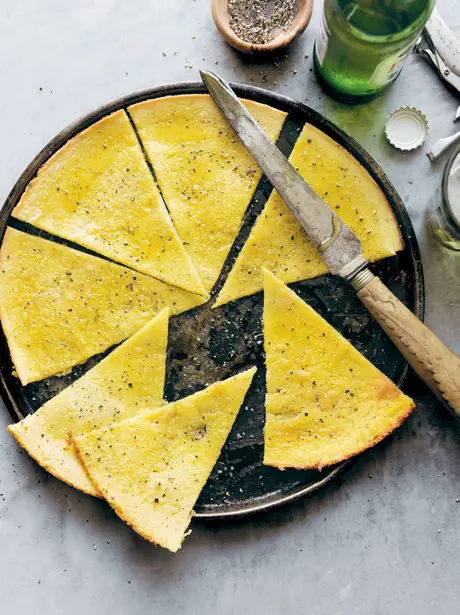
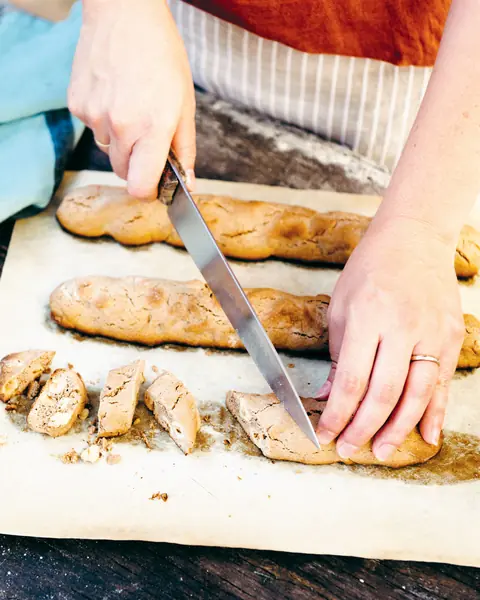
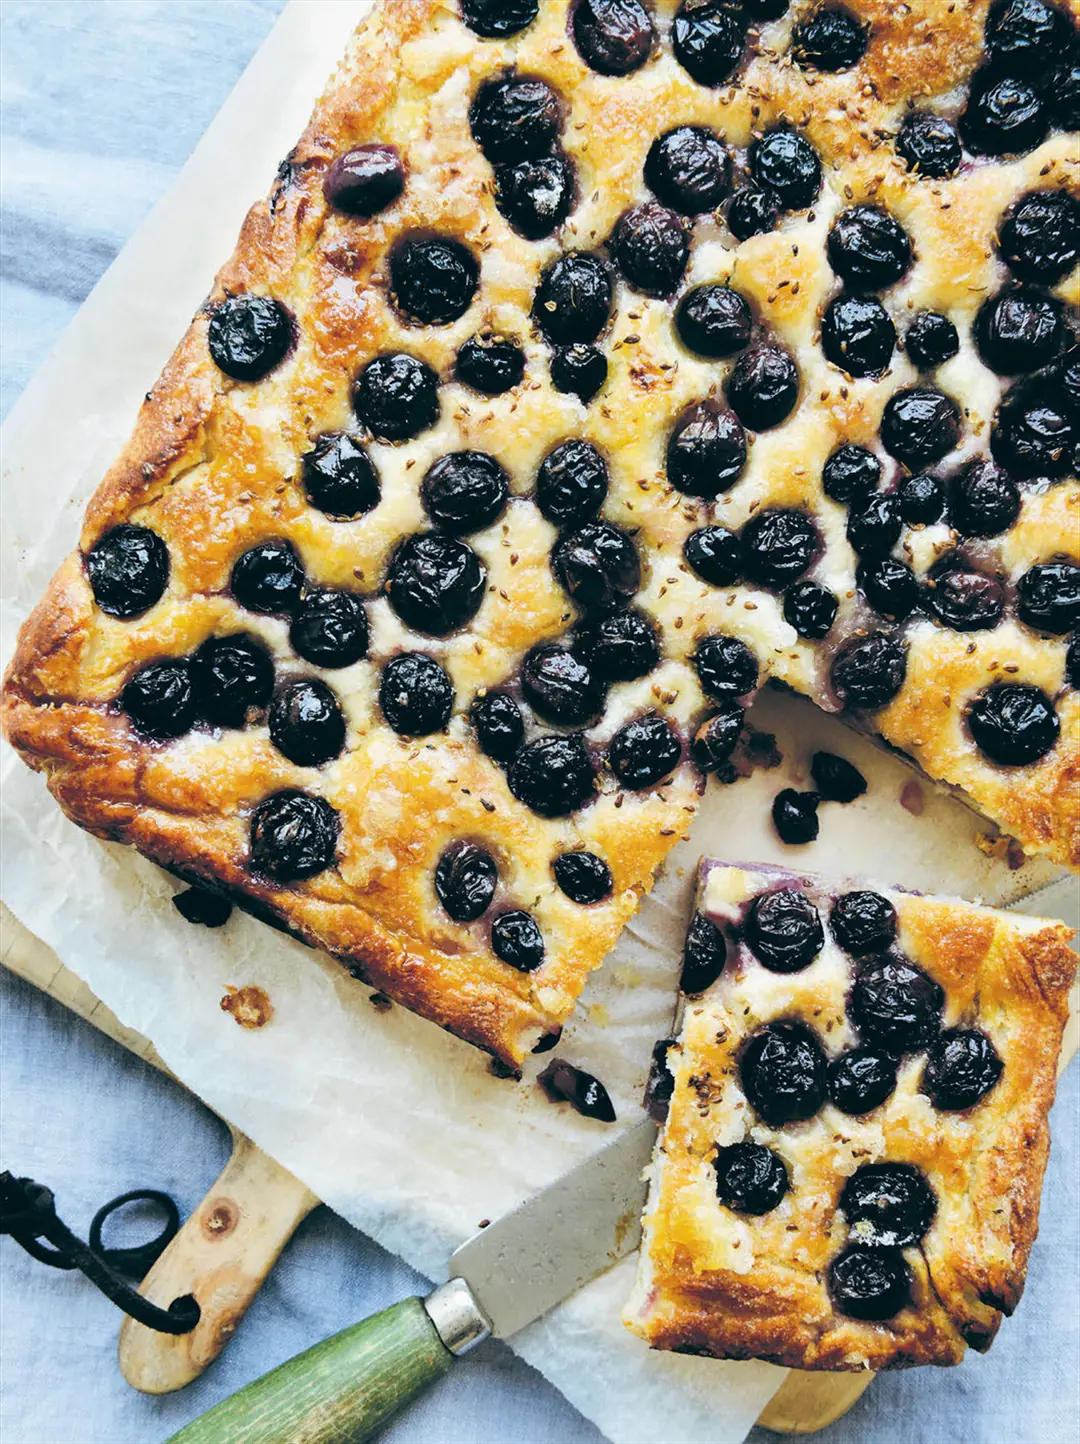
Cut into squares and enjoy eaten with your hands. If you like, dust with just before serving – although this isn’t exactly traditional, it is rather nice.
This is best served and eaten the day of baking, or at the most the next day.

Emiko Davies's tips
Avoid using red or white seedless table grapes or white grapes for this – they just don’t do it justice in terms of flavour or appearance. If you can’t get concord grapes or wine grapes, or it’s the wrong season, try replacing them with blueberries. It’s completely unorthodox, of course, but it’s a very good substitute, giving you a much closer result than using regular table grapes.
There are rarely adaptations made to this traditional recipe, but often you can find the addition of aniseed – a typical Tuscan flavouring for sweets – as I've suggested here. It’s a good addition, one that brings extra perfume to this bread.