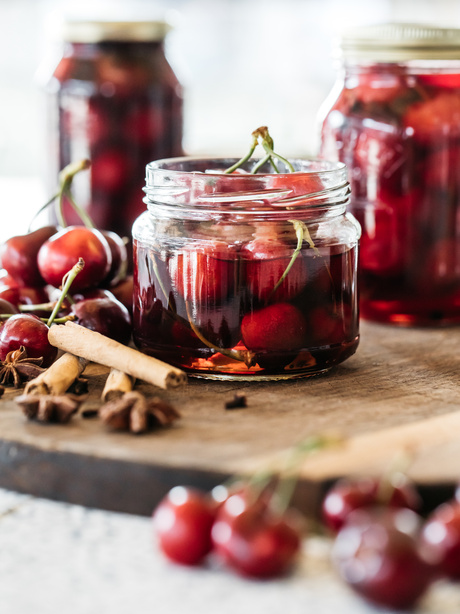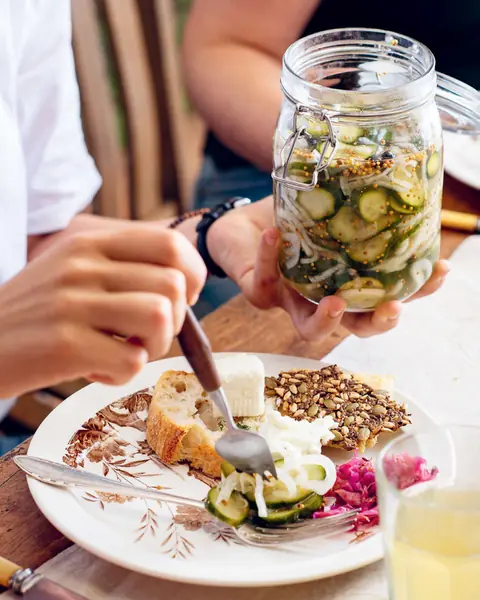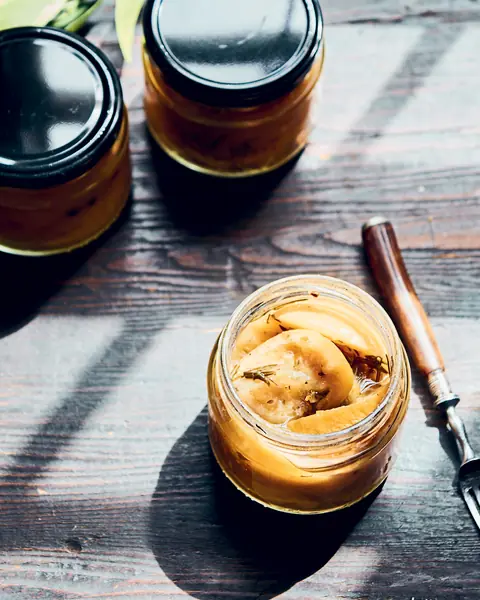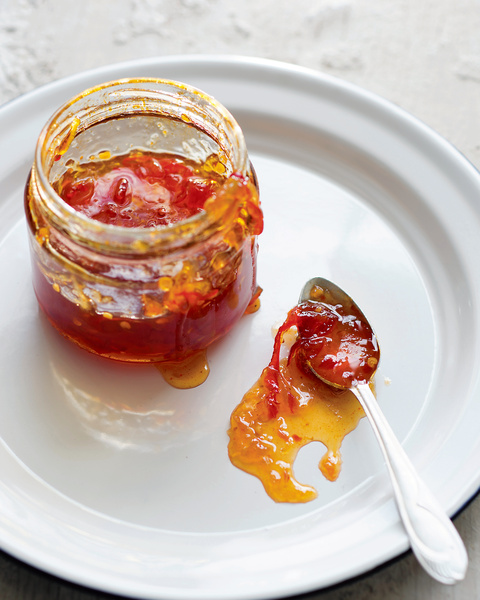

These pickled pears are both sweet and tangy, perfect on a cheese plate, or with grilled meats. Thinly slice them and toss them through a green leaf, almond, and parmesan salad - and drizzle a little brine over the top as the dressing.
If a recipe calls for grilled and roasted fruits, you can replace them with pickled pears instead.
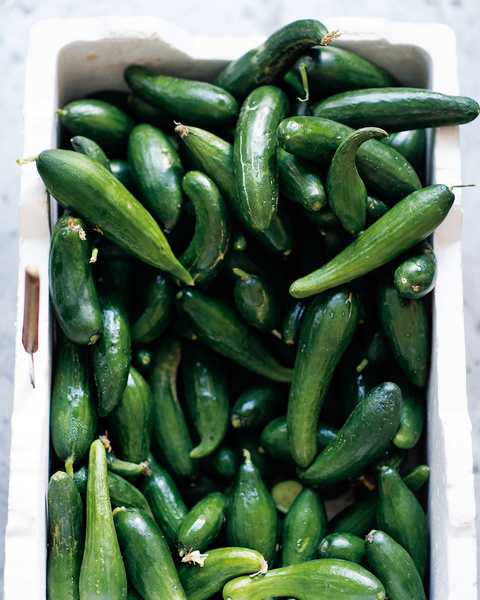
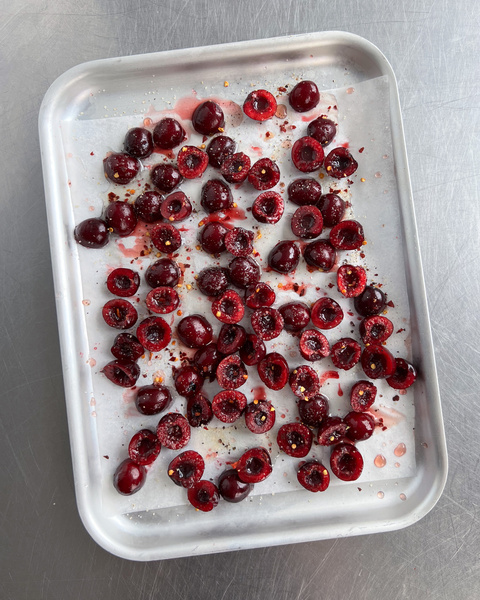
Use this recipe as the base recipe for any pickled fruits! Just remember to choose firm fruits, not overly ripe fruits for pickling.
Ingredients 5
For The Brine
For Each Jar
Your new home
for cooking
Turn your recipe chaos into a plan for the week.
Browse 1000+ inspiring creator recipes
Unlimited recipe import from social media, blogs and more
Generate shopping lists and meal plans in seconds with AI
Method 8
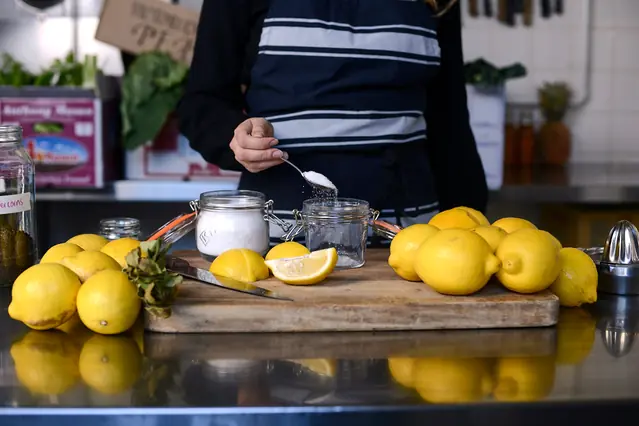
Start by sterilising your jars and lids (See Sterilising Jars step below).
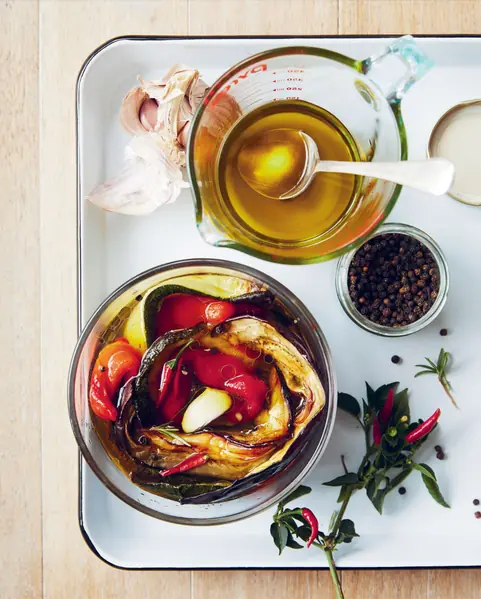
Make your pickling brine by putting the , and into a medium sized saucepan over low heat. Stir to dissolve the sugar and bring to simmering point. Turn off the heat .
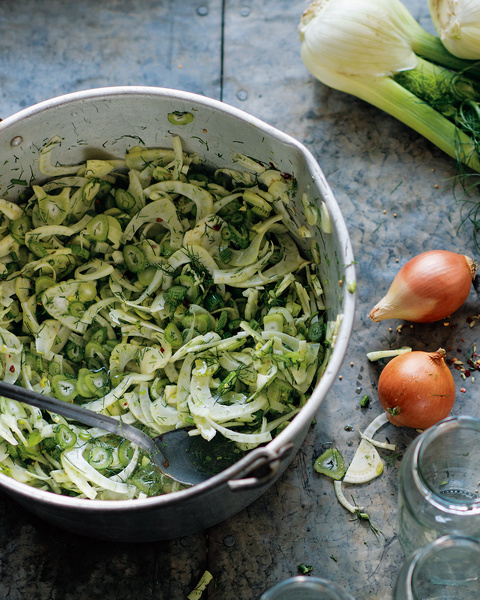
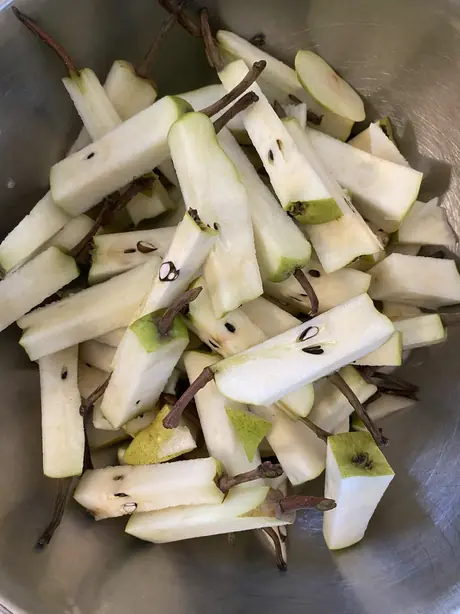
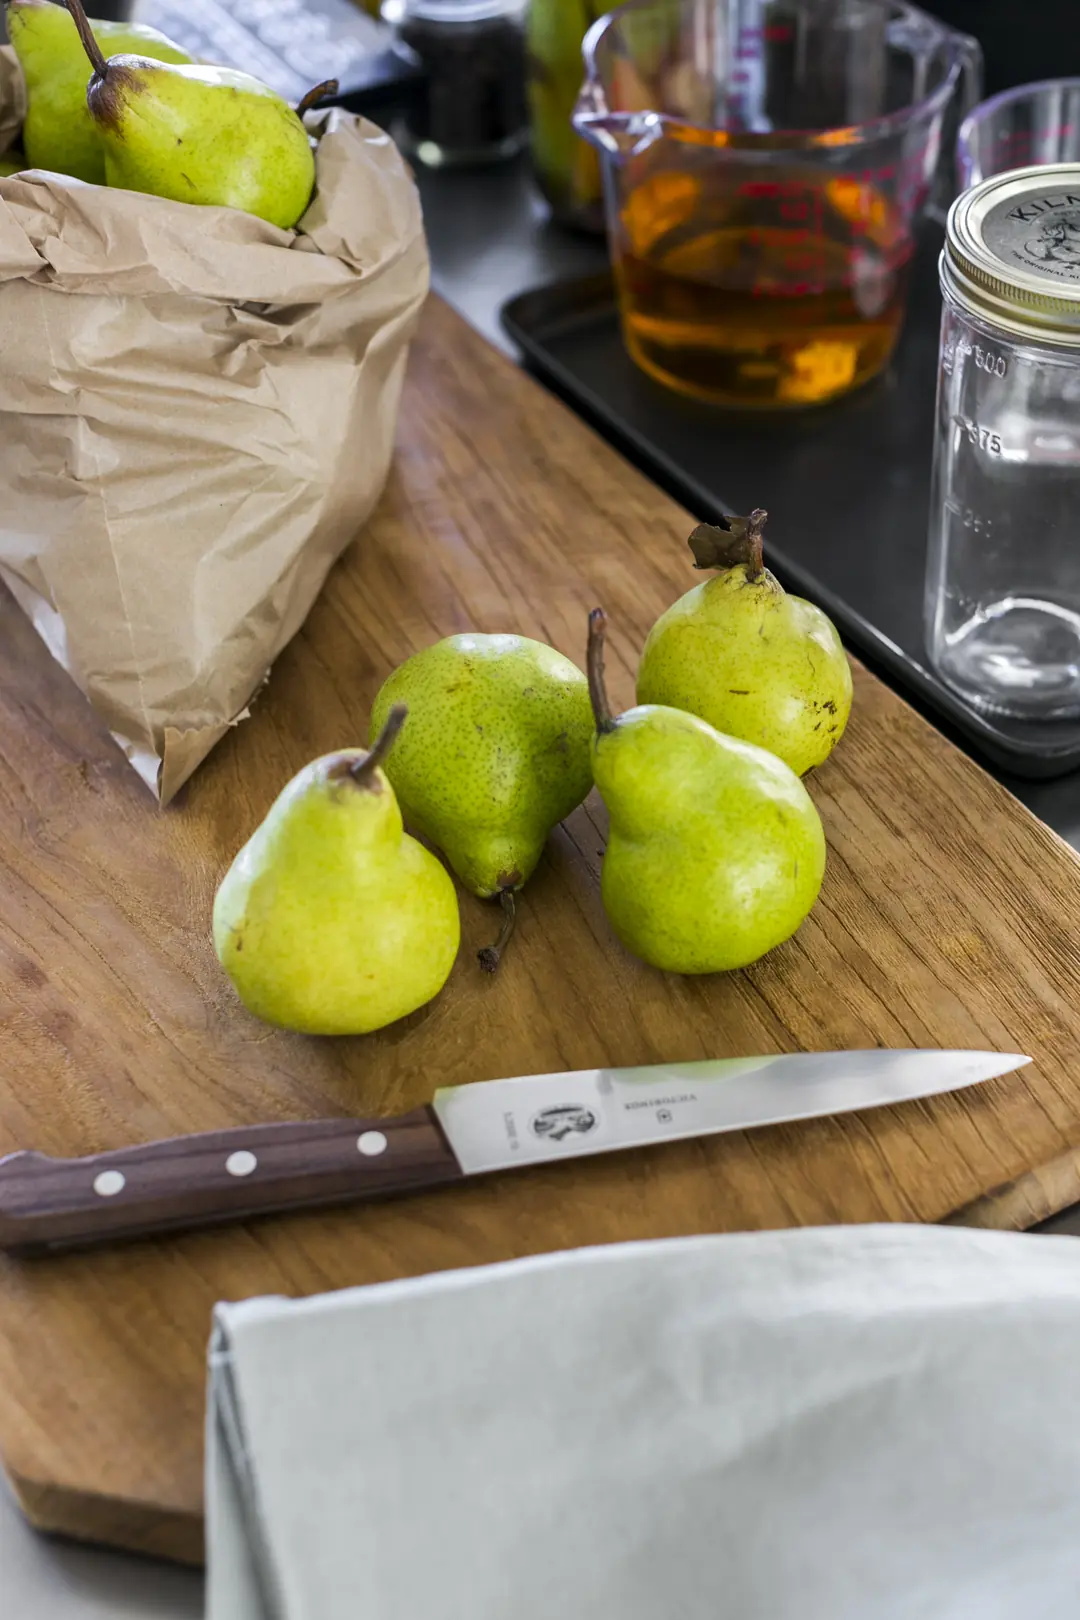
Meanwhile, prepare the by cutting into wedges, halves or leaving whole depending on their size.
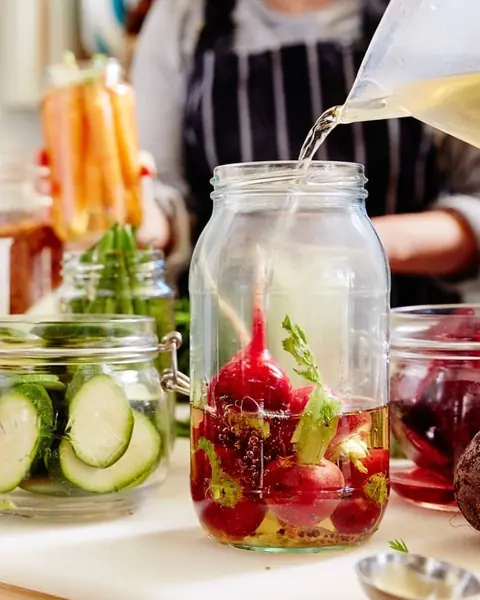
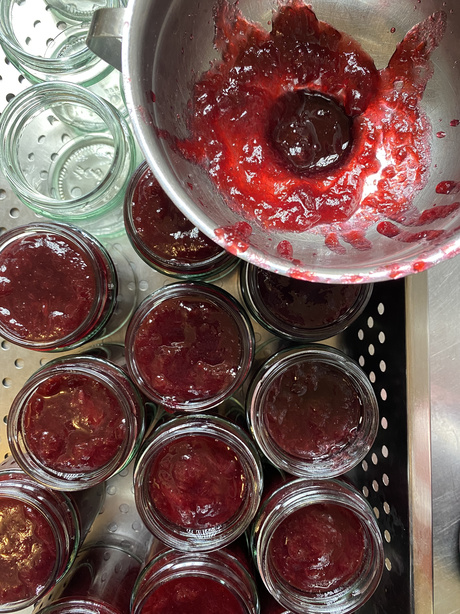
Once the jars are cool, add the warm of your choice to each jar.
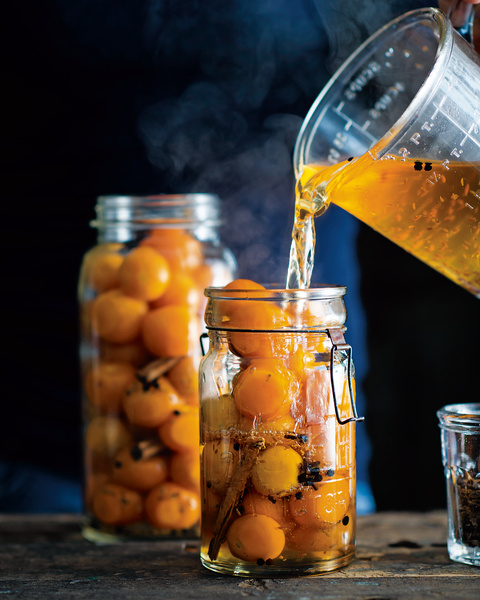
Tightly pack the fruits into the jars, then add the hot brine to completely cover. Remove any air bubbles by gently tapping the jar on the work surface or slide a butter knife or chop stick around the inside of the jar to release any hidden air bubbles. You may need to add more brine to ensure the fruits are completely submerged. Wipe the rim of the jar and seal.
Store in the fridge, let sit for at least 2-4 weeks before eating! Use within 6 months. If you would like to store them in your pantry for up to 2 years, you can heat process the jars following the steps below. Once open store in the fridge for up to 3 months or more.
Sterilising Jars
You will need about 4 x 375ml jars. Give the jars a wash in hot soapy water and a good rinse, then place upright in a baking dish in a cold oven. Heat the oven to 110°C. Once it has reached temperature, leave the jars in the oven for 10–15 minutes or until completely dry, then remove them carefully. Let the jars cool before adding your spices and pear slices. To sterilise the lids, place them in a large saucepan of boiling water for 5 minutes, then drain and dry with clean paper towel, or leave them on a wire rack to air dry. Make sure they are completely dry before using.
Heat Processing
If you want to extend the shelf life of your pickles before you open it, you can heat process the jars. Get the biggest pan you have, such as a stockpot, and put it on the stovetop. Lay a folded tea towel in the bottom of the pan, then sit your filled, lidded jars on the tea towel. Make sure your lids aren’t on too tight! Pour in enough warm water to cover the jars, either completely or at least until three-quarters submerged. Bring to the boil over medium heat and simmer for 15 minutes Carefully remove the hot jars from the water using preserving clamps or a very thick cloth. Line your jars up on the bench top and let them sit overnight. As they cool, a vacuum will form inside each jar and suck down the lid, sealing them securely. These jars can be safely stored in the pantry for up to 2 years.

Cornersmith's tips
Use whole spices to flavour your pickles, such as cinnamon sticks, ginger slices, allspice berries, and whole peppercorns. Ground spices will make the brine cloudy.