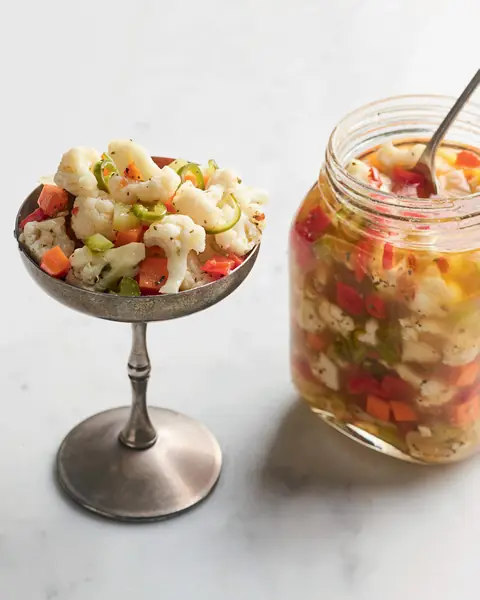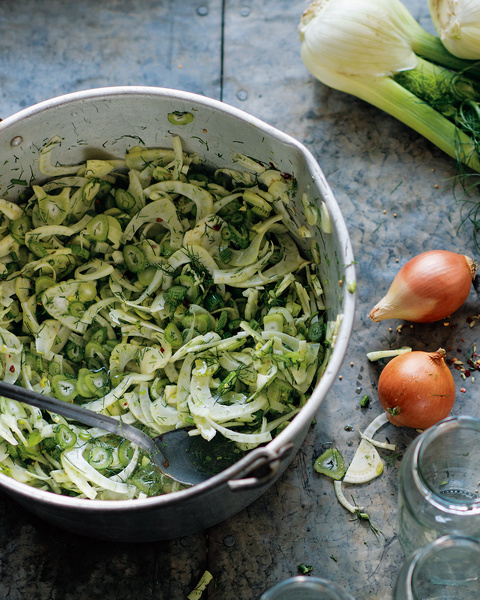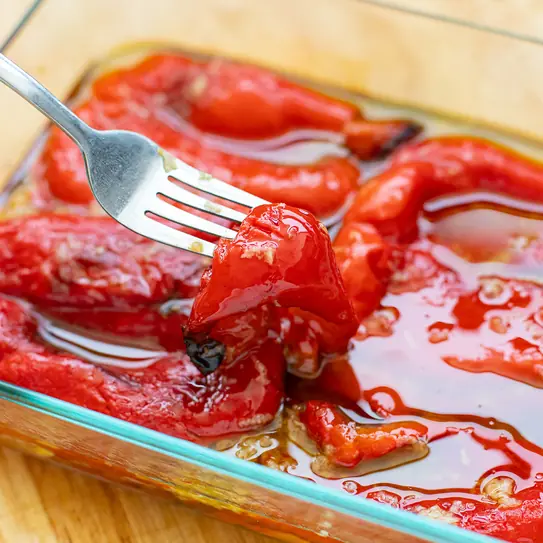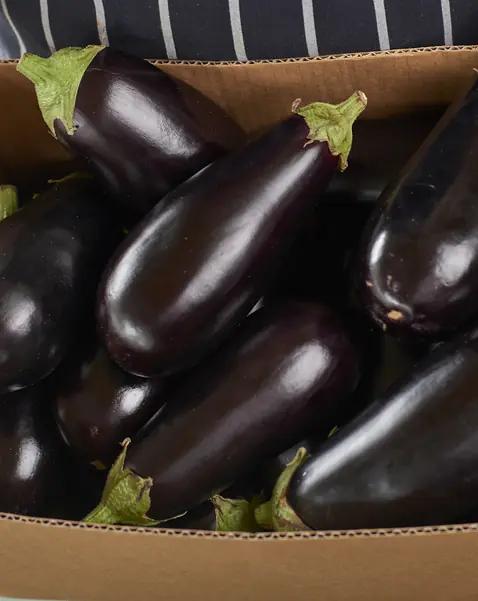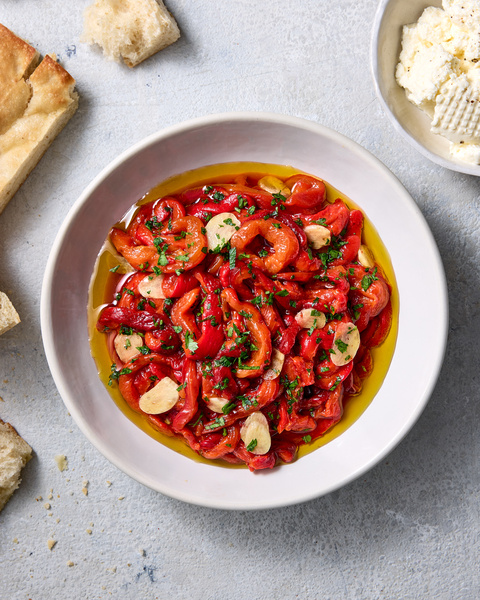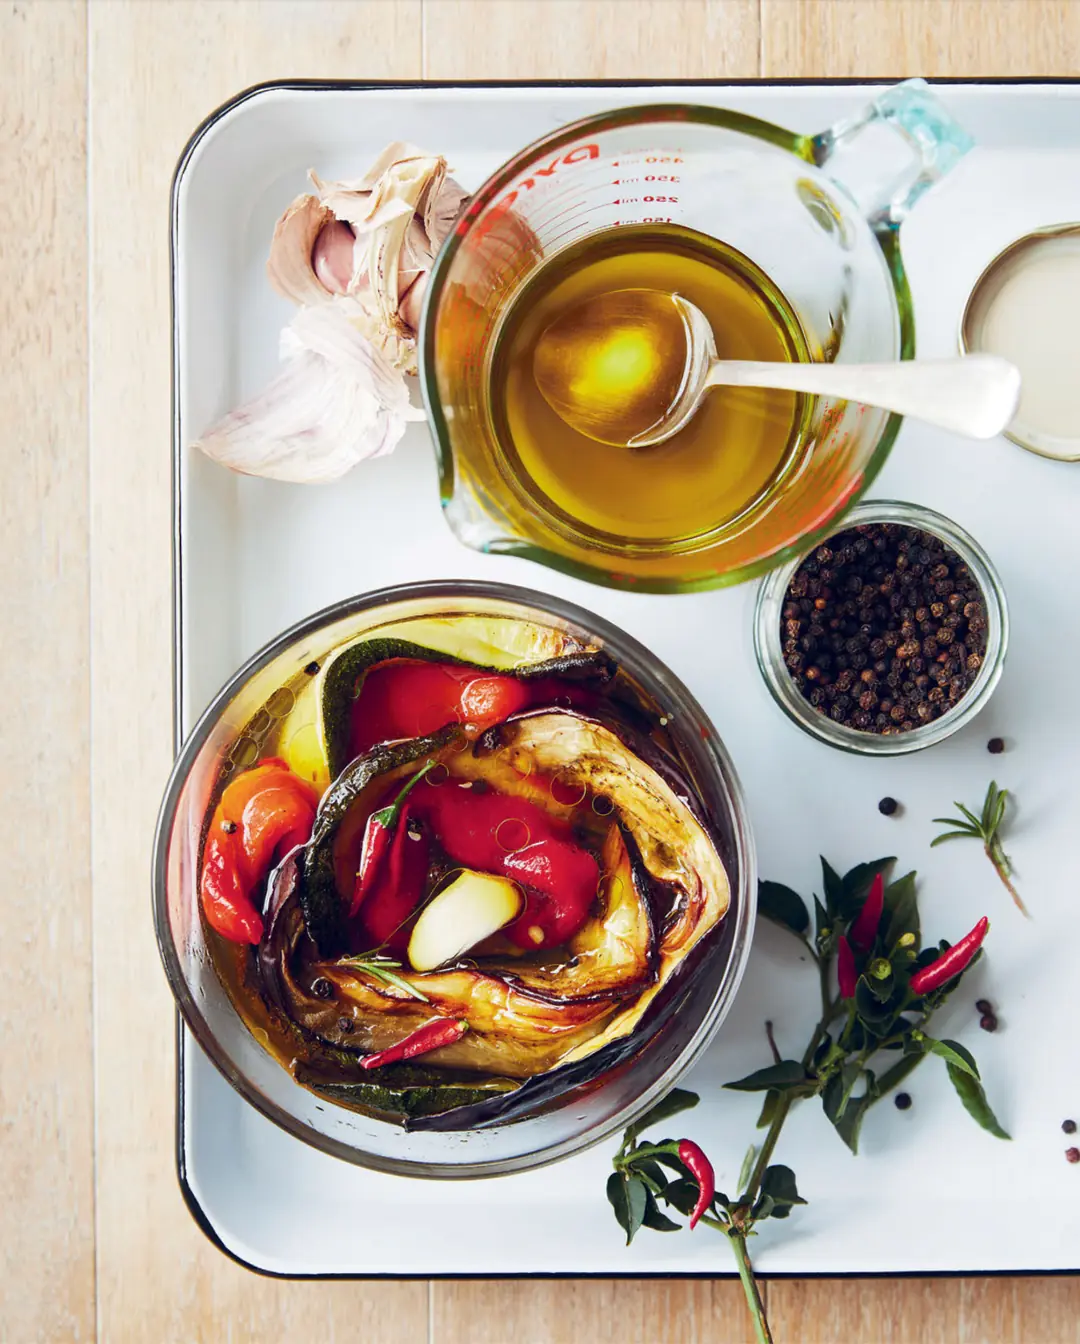

This antipasto-style pickle is the most delicious way to rescue very tired old vegetables. Think eggplants, capsicum, zucchini, onions and fennel. By roasting and covering with vinegar brine and oil, you end up with delicious pickled vegetables, a little like those you’d find in an Italian delicatessen. They’ll last for a few weeks in the fridge if you don’t eat them all in one go.
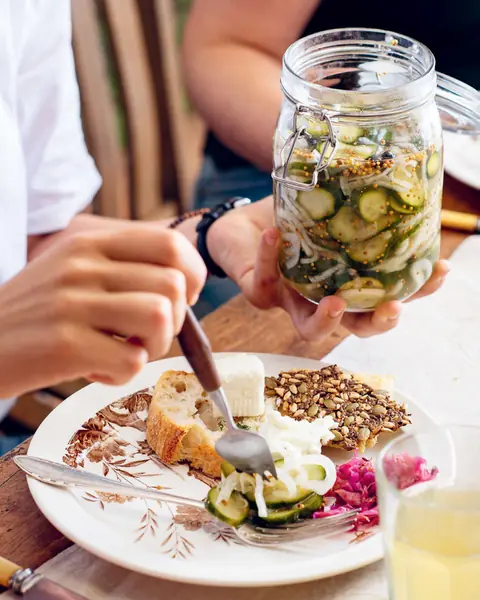
Eat these pickles on toast with ricotta or curd, stir through pasta, use in a salad, on a cheese board, on burgers, toasties, or as a side at a BBQ.
Ingredients 8
For Each Jar
Your new home
for cooking
Turn your recipe chaos into a plan for the week.
Browse 1000+ inspiring creator recipes
Unlimited recipe import from social media, blogs and more
Generate shopping lists and meal plans in seconds with AI
Method 8
Start by sterilising your jars and lids (see Sterilising Jars step below)
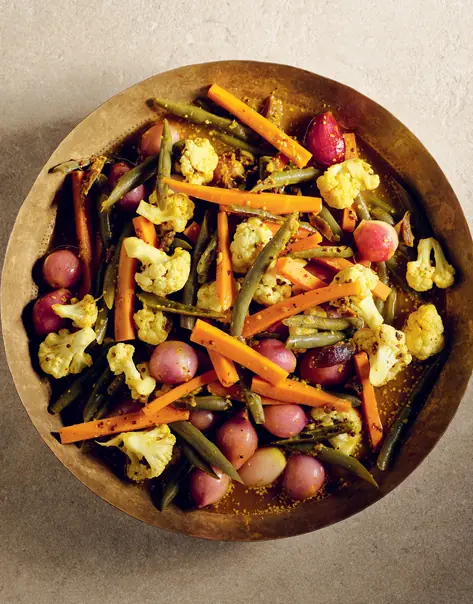
Preheat oven to 180°C. Chop your into good sized wedges then evenly spread out on a baking tray and cover with ¼ cup of and 1 teaspoon of . Mix well with your hands to evenly disperse. Make sure your vegetables have room to spread out, you want them to char a little on the edges. Roast in the oven for 20-30 mins or until cooked and starting to brown, but not falling apart.
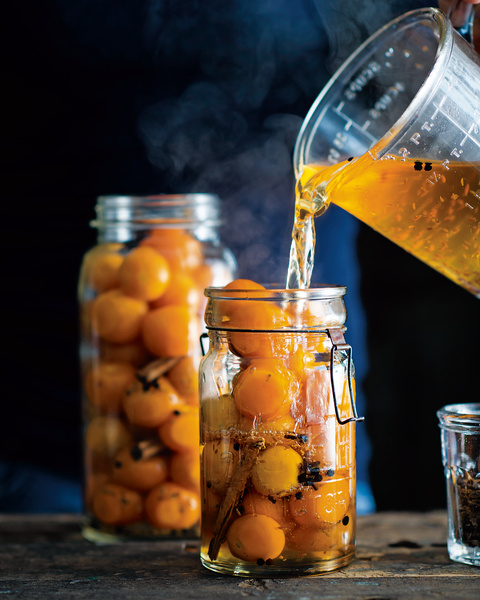
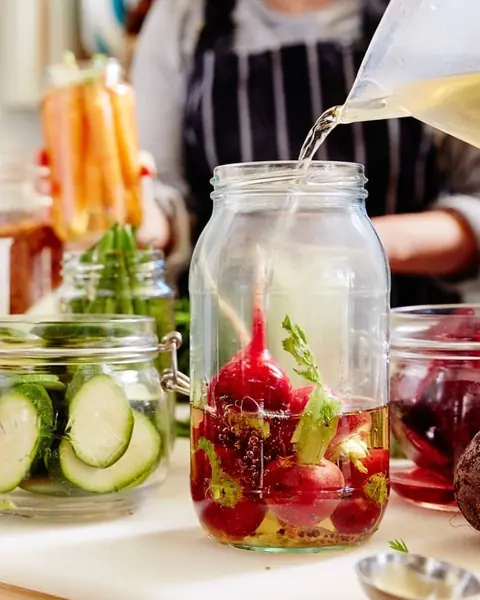
While your vegetables are roasting make a batch of basic pickle brine.
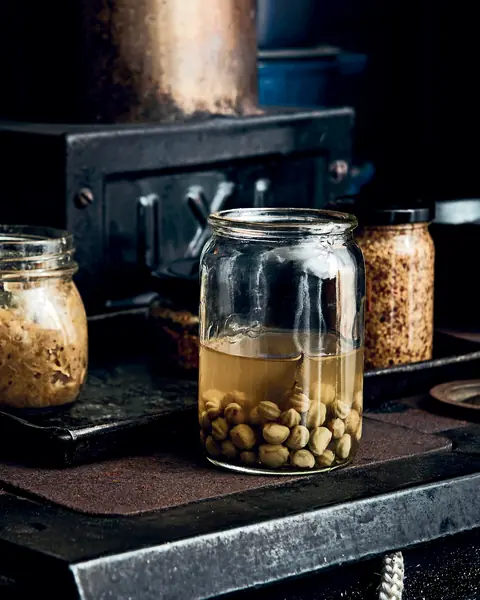
In each jar put a mixed tablespoon or so of flavouring of your choice: , lemon peel, , rosemary, , chilli flakes, fennel seeds, coriander seeds, cumin seeds etc.
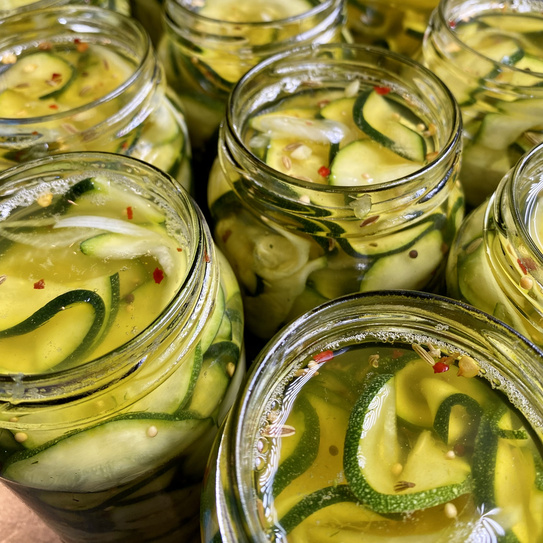
Gently pack in your roasted vegetables into sterilised jars and pour over the hot brine, making sure the vegetables are completely covered. Top the vegetables with a thin layer of , seal and store in the fridge for up to 3 weeks. Allow to sit at least overnight before eating. After 3-4 days they’ll be even better.
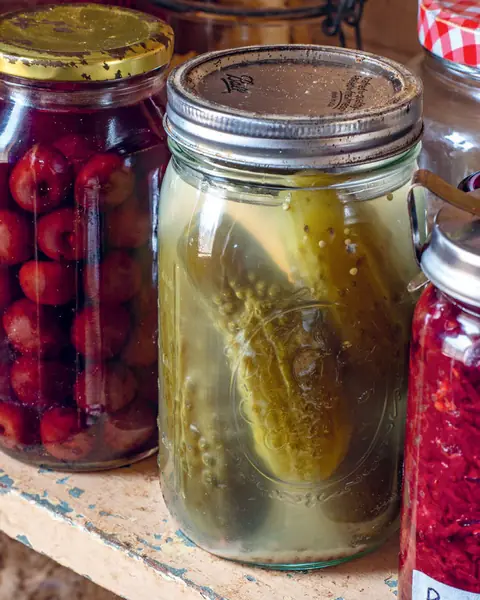
For pantry storage: Heat seal for 15 minutes and store in the pantry for up to 12 months. Once open store in the fridge for up a month.
Sterilising Jars
You'll need about 4 x 300ml jars for this recipe. To sterilise your jars, give them a wash in hot soapy water and a good rinse, then place upright in a baking dish in a cold oven. Heat the oven to 110°C. Once it has reached temperature, leave the jars in the oven for 10–15 minutes or until completely dry, then remove them carefully. Let the jars cool before adding your pickles. To sterilise the lids, place them in a large saucepan of boiling water for 5 minutes, then drain and dry with clean paper towel, or leave them on a wire rack to air dry. Make sure they are completely dry before using.
Heat Processing
If you want to extend the shelf life of your pickles before you open it, you can heat process the jars. Get the biggest pan you have, such as a stockpot, and put it on the stovetop. Lay a folded tea towel in the bottom of the pan, then sit your filled, lidded jars on the tea towel. Make sure your lids aren’t on too tight! Pour in enough warm water to cover the jars, either completely or at least until three-quarters submerged. Bring to the boil over medium heat and simmer for 15 minutes Carefully remove the hot jars from the water using preserving clamps or a very thick cloth. Line your jars up on the benchtop and let them sit overnight. As they cool, a vacuum will form inside each jar and suck down the lid, sealing them securely. These jars can be safely stored in the pantry for up to 2 years.

Cornersmith's tips
I usually make these pickles and store them in a clean container in the fridge rather than in a sterilised jar. I generally pickle any leftover vegetables I have in the fridge that need using. This recipe is great for eggplants, capsicum, zucchini, onions, cauliflower, and fennel. Store it in the fridge and use it all week in toasties, tossed through pasta, on burgers, or tossed through chickpeas or lentils with lots of fresh herbs.