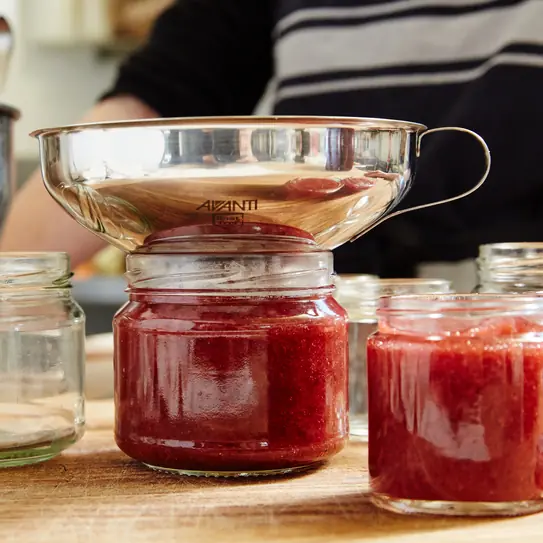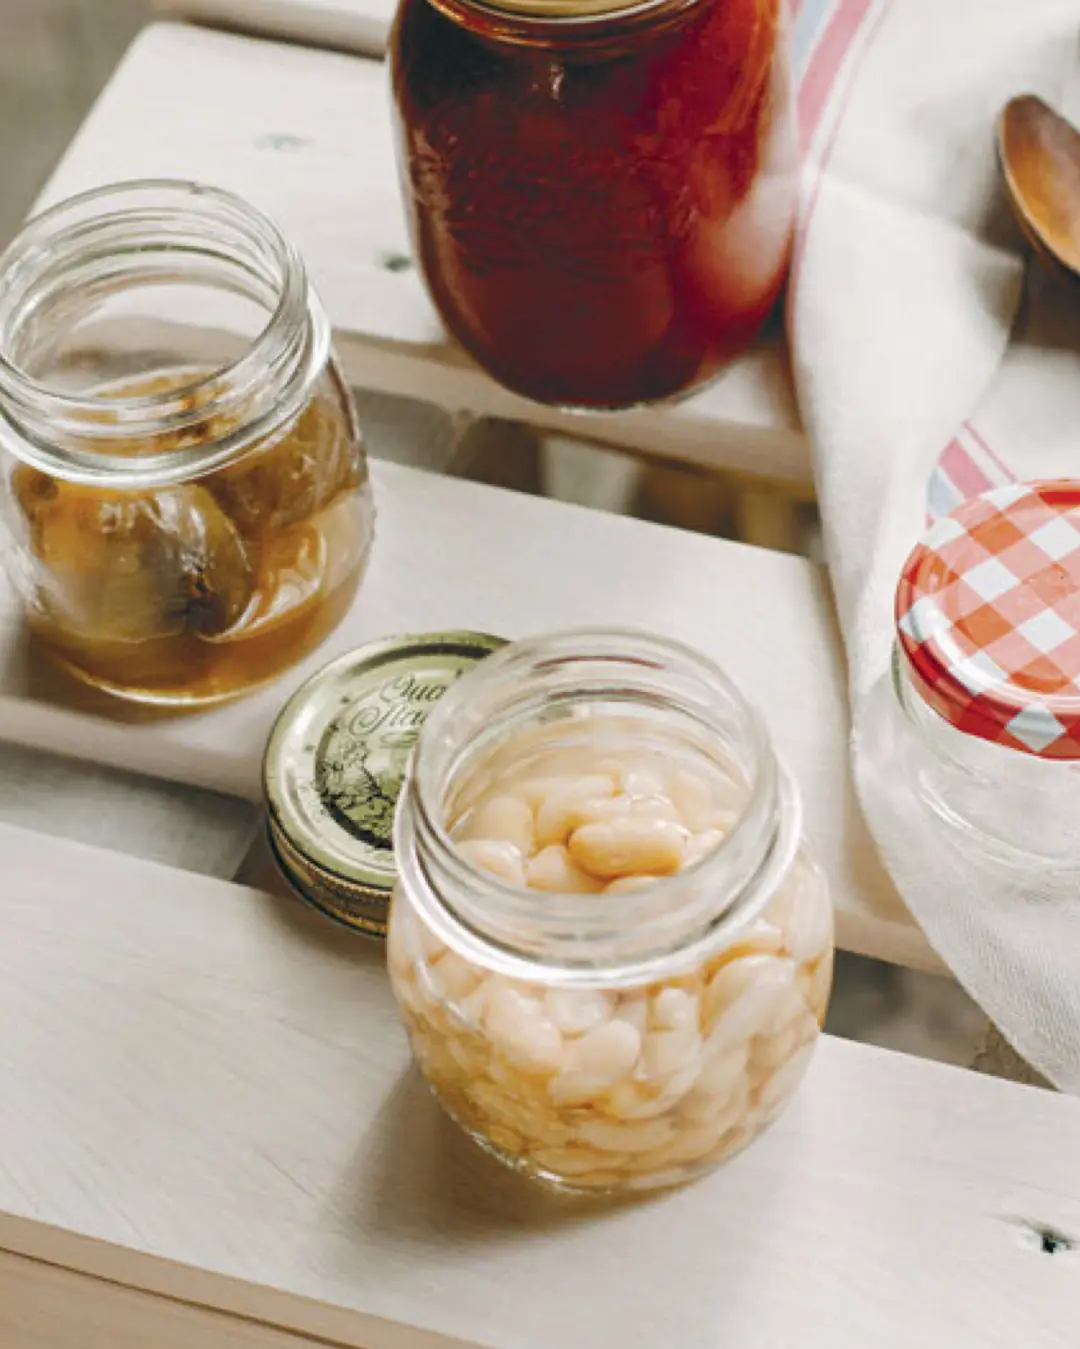

Sterilising and Sealing Jars
Glass jars used for preserving should be sterilised to reduce the risk of spoiling your hard work. Sterilise jars and their lids just before you need to fill them.
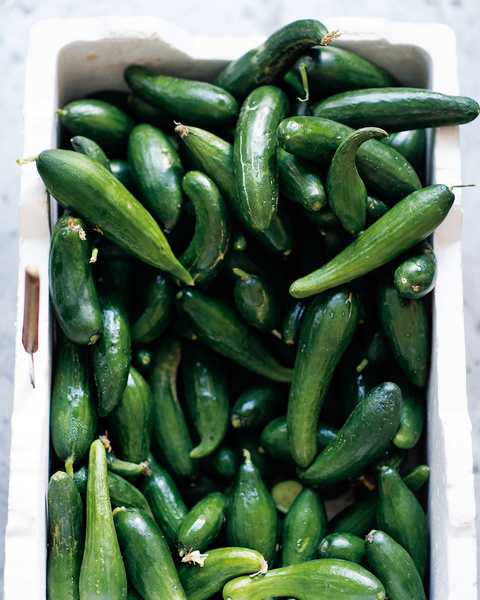
Ingredients 0
Your new home
for cooking
Turn your recipe chaos into a plan for the week.
Browse 1000+ inspiring creator recipes
Unlimited recipe import from social media, blogs and more
Generate shopping lists and meal plans in seconds with AI
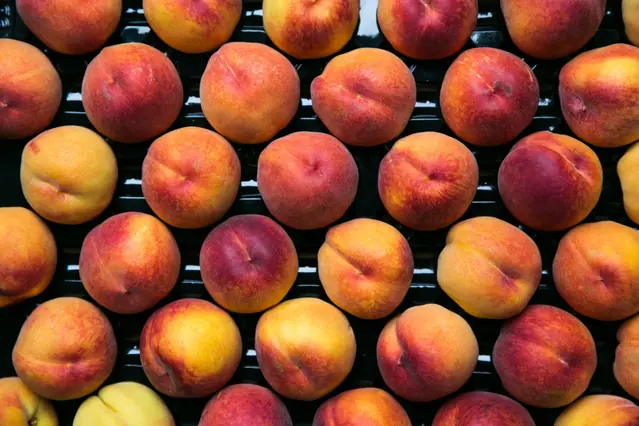
Method 5
Sterilising
There are two ways to sterilise jars for preserving.
In Italy, they like to place the jars, mouths up, along with their lids (not screwed on, but left off) in a large pot, covered with water, then boil them for 10 minutes. If you live in an area with hard water, you may find that boiling the jars will leave a chalky finish on the glass – a splash of vinegar in the water will prevent this. Remove jars and lids (I do this with tongs) to air-dry on a clean tea towel (dish towel), mouths of the jars up. The water should evaporate off the hot glass quite quickly. When dry, they are ready to be filled.
The oven is another way to sterilise jars. Wash jars with warm, soapy water. Place jars, mouths up, on a baking tray and place in a low oven until dry. The lids should be boiled for 10 minutes and left to air- dry on a tea towel (dish towel).
Sealing
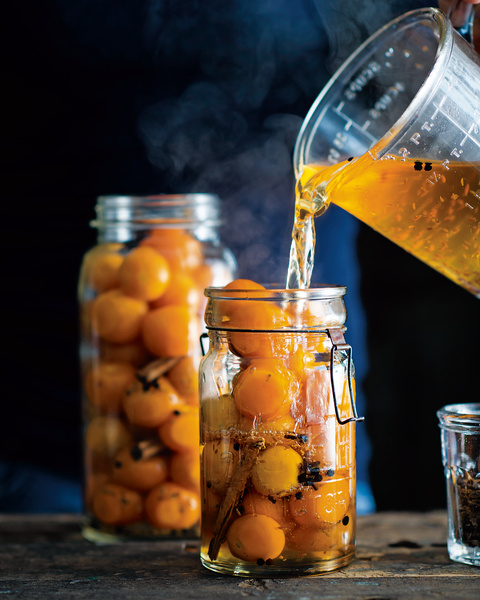
If the jars are filled with something cold, boil the filled jars in a water bath. Once filled and the oil is poured in to cover by 5 mm (1⁄4 in), screw the lids on the jars, then place in a saucepan, upright. Fill the saucepan with water to reach the lids (add a splash of vinegar if you live in an area with hard water that will leave the jars chalky). Boil for 10 minutes. Carefully (again, tongs help) remove the jars and let them cool completely on the counter.
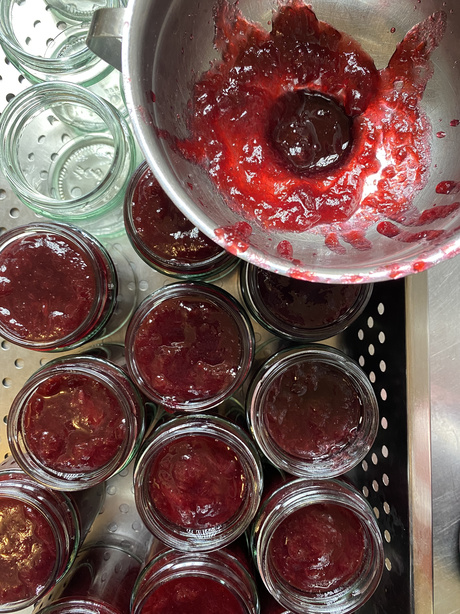
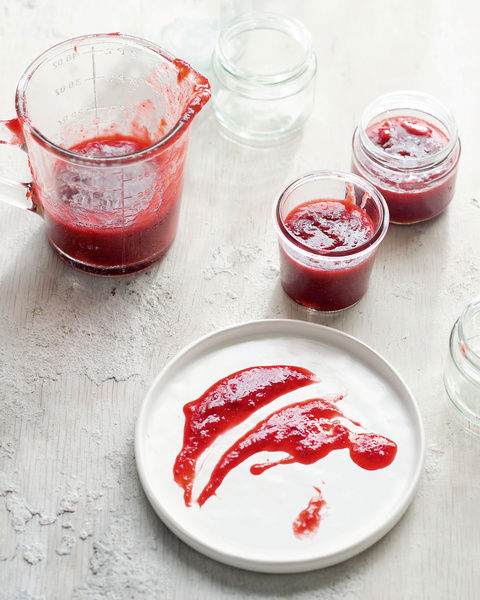
If jars are filled with something boiling hot – just-made, bubbling hot jam, for instance – fill to about 5–10 mm (1⁄4–1⁄2 in) from the top. Immediately screw lids on tightly (careful, the jars will be extremely hot) and leave on the counter to cool completely. As the jars cool and the pressure inside the jar changes, they will seal completely. If your lids are the ones with ‘safety buttons’ that ‘click’ when pushed, you can check they are sealed by pressing down on the button on the lid – if sealed properly, it will not ‘click’. There is no need to turn the jars upside-down, as many like to do.