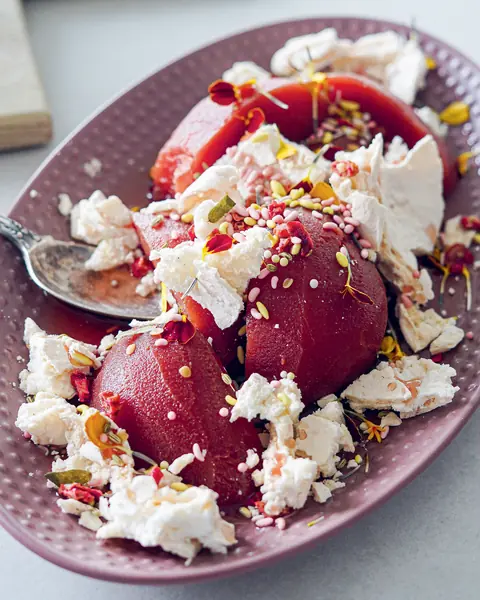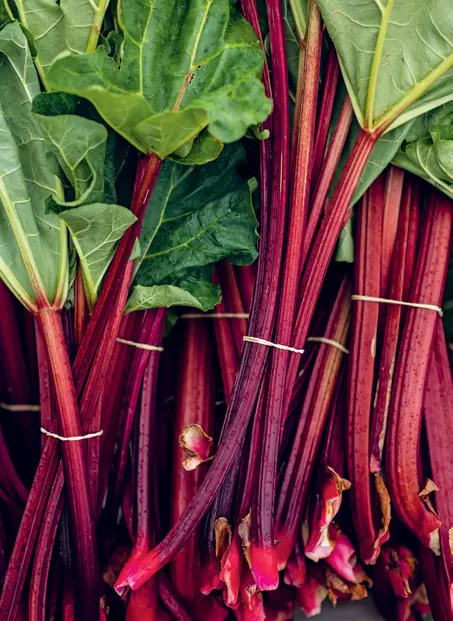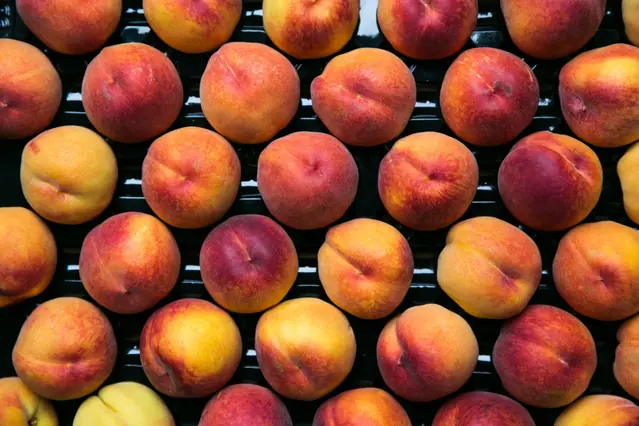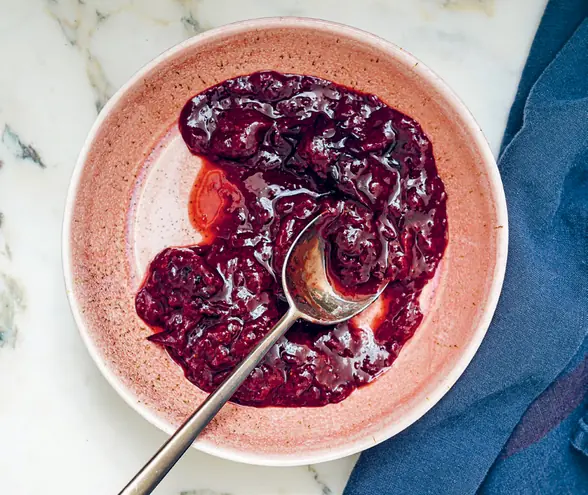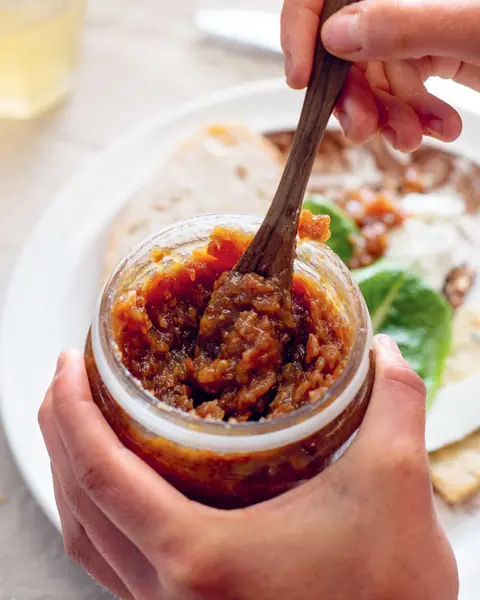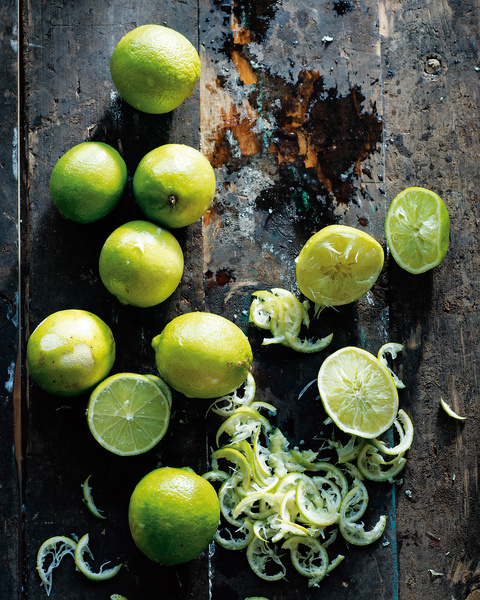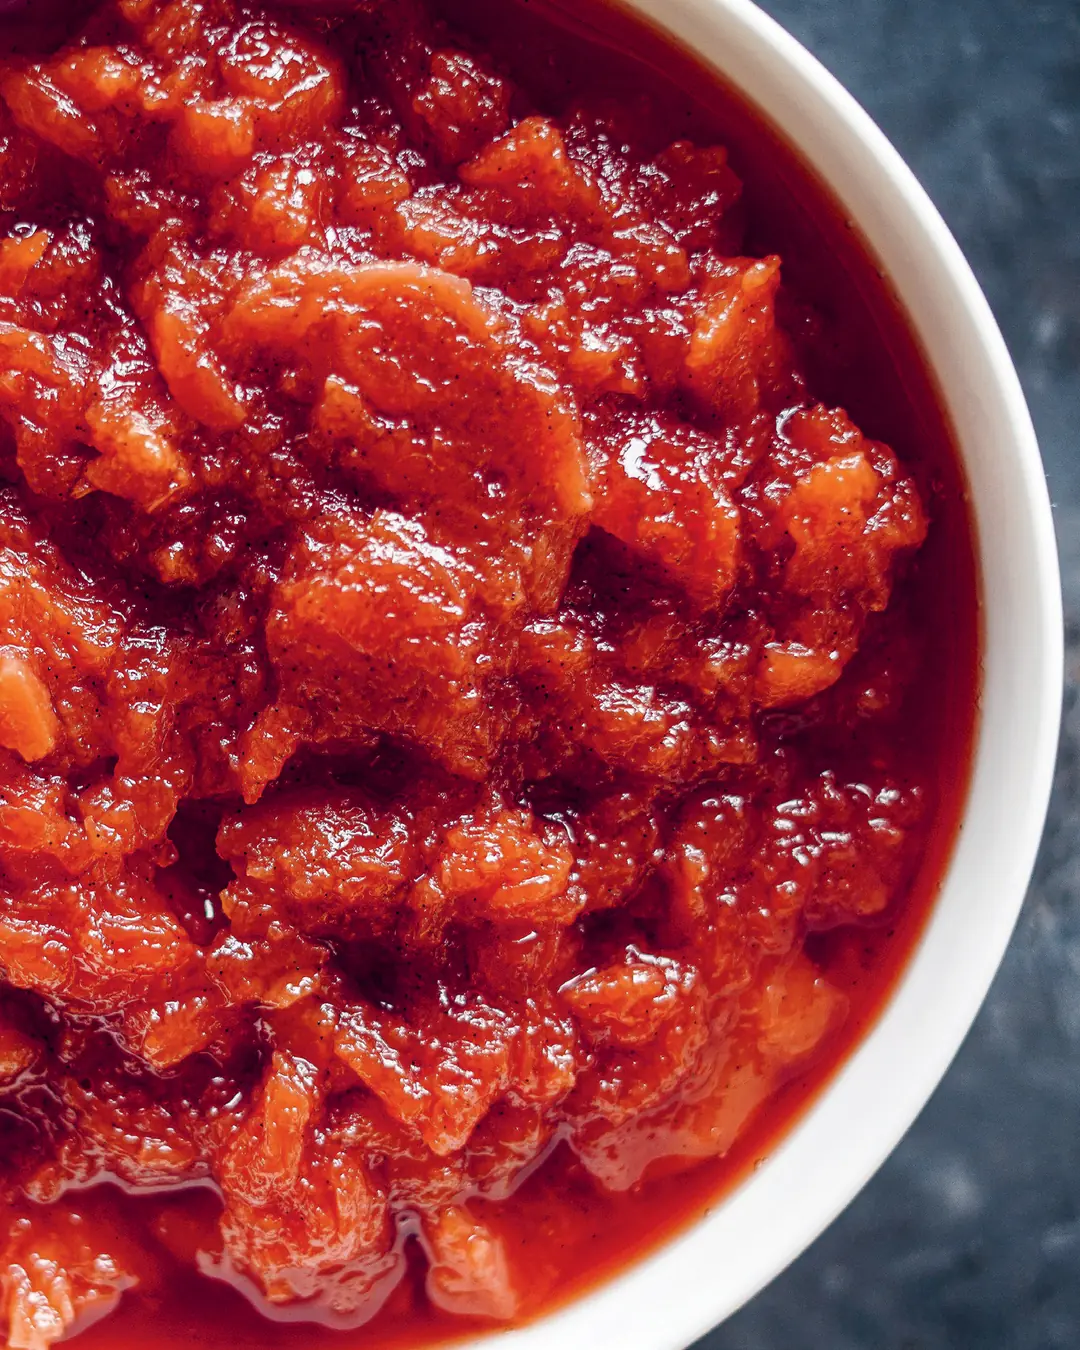

I love how this gnarly, ugly fruit, once harnessed, soothed, treated and rustled, comes perfectly alive. Paired with spices, zests and florals it becomes something entirely new — it is robust and glorious in colour, taste and texture. It can run the gamut from savoury through sweet with ease.
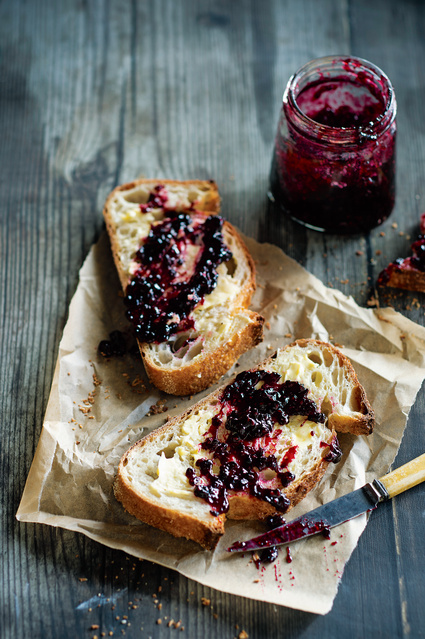
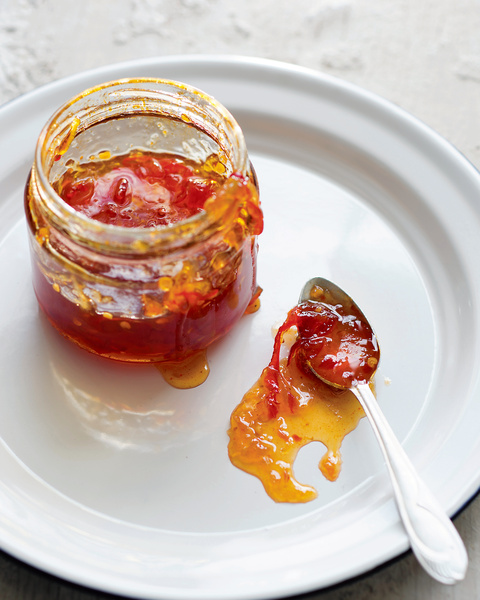
Quince jam is something that should always be home-made. The kinds bought in stores are often overly sweet, sometimes artificial in taste, or scant on quince and heavy on the fillers. And they cost a fortune, which is confusing given all it needs is a few fruits and some time on the stove for a fraction of the price. Make your own.
Makes 3 cups (945 g/ 2 lb 1 oz).
Ingredients 6
Your new home
for cooking
Turn your recipe chaos into a plan for the week.
Browse 1000+ inspiring creator recipes
Unlimited recipe import from social media, blogs and more
Generate shopping lists and meal plans in seconds with AI
Method 4
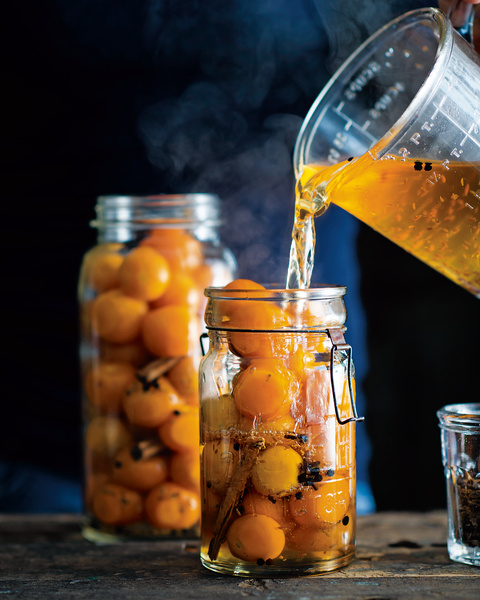
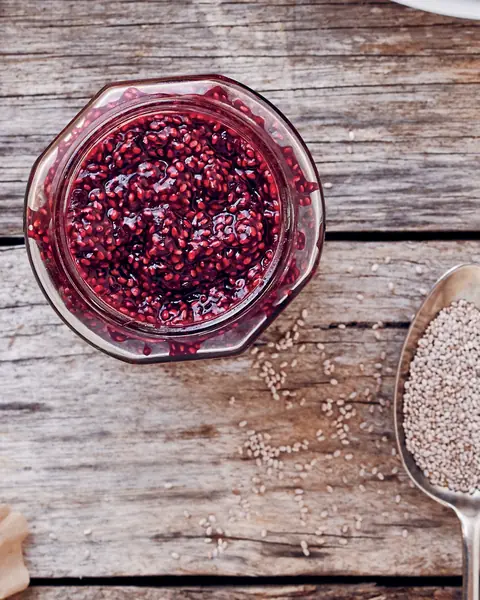
Add the , , and seeds, , juice, and to a large saucepan and give them a few swirls with a wooden spoon to incorporate.
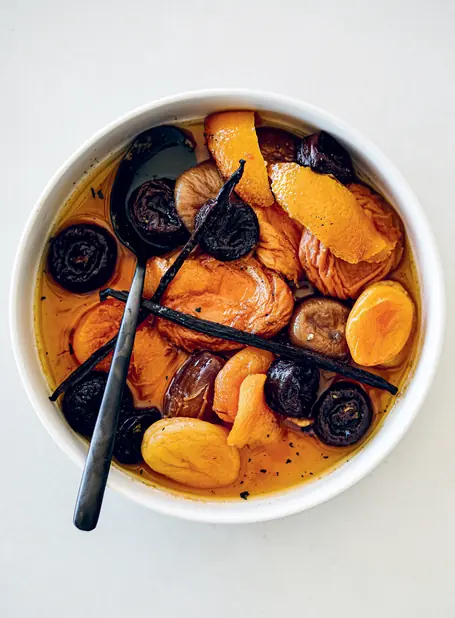
Cover with a lid and cook until the are soft and have taken on a glorious pinky red sunset hue. This can take 2–3 hours, sometimes more. You want the residual liquid to look thick and syrupy.
If this hasn’t happened but the fruit seems ready, crank the heat and reduce it, stirring constantly to prevent any burning. Given the sugar content, it’s important to keep an eye on things so you don’t have a burned mess sticking to the base of your pan if your heat has been a little on the high side.
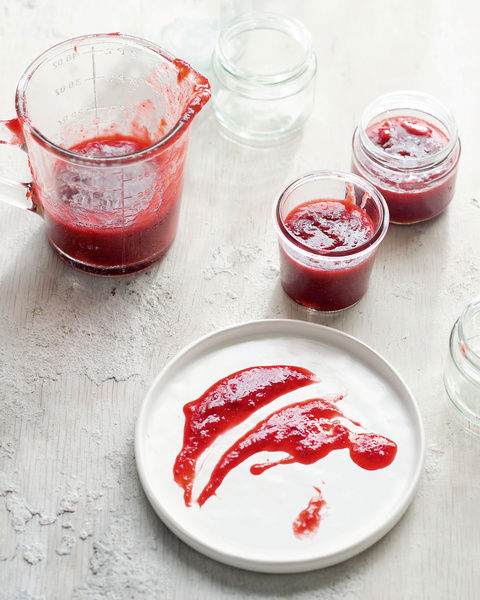
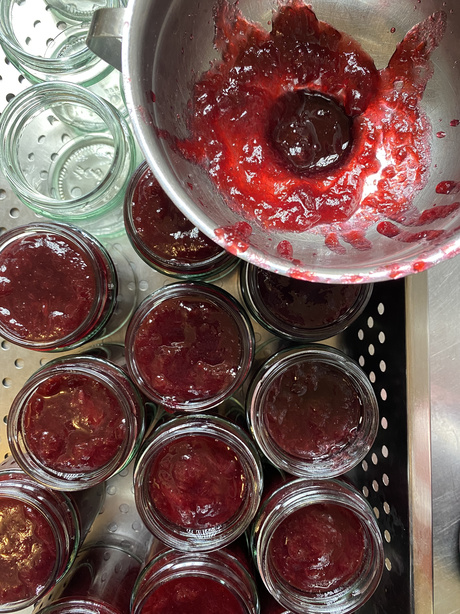
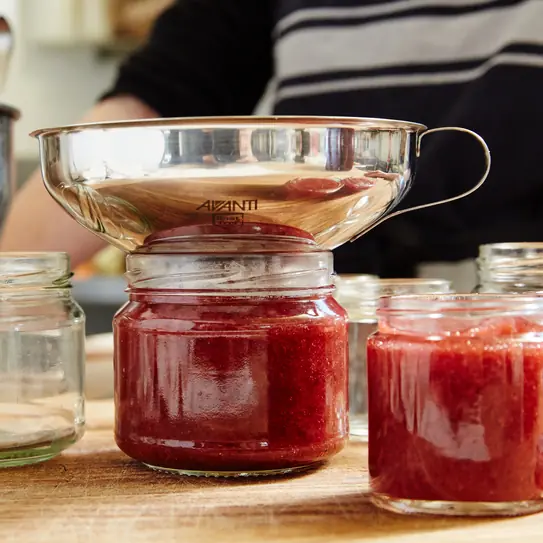
Strain to capture the and , then return the fruit to the liquid. Using a fork, squish and roughly pulp the fruit into the liquid until you have a chunky jam consistency. Pour into sterilised jars until ready to use.

Katrina Meynink's tips
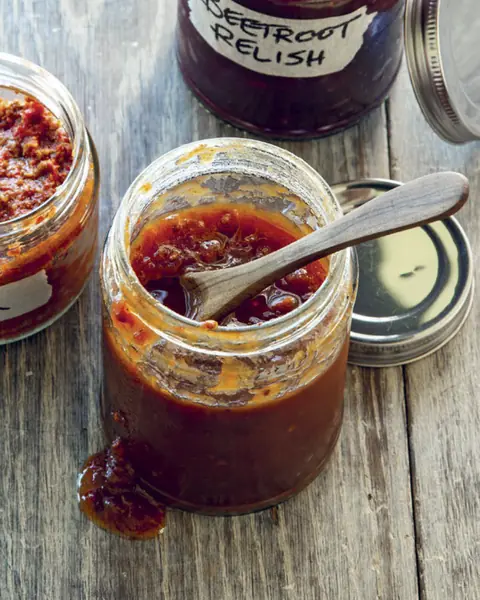
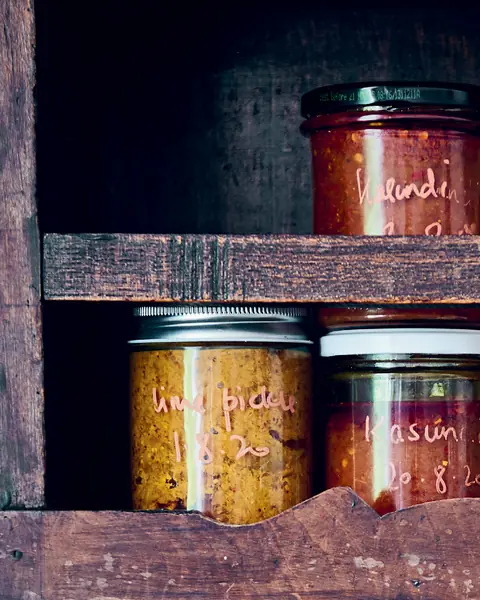
Makes 3 cups (945 g/ 2 lb 1 oz). This will keep for up to 6 months in a screw-top jar in the fridge.
You can also throw all of this in the slow-cooker on low for 8 hours, then follow the directions from straining the fruit onwards (step 4) for the same result. You will just need to reduce the liquid on the stovetop first as little to no evaporation will have occurred and you will have more liquid than if you prepared this on the stove.