
Puff pastry can look spectacular and has many uses. Making it is not as difficult as you might think. In particular, the perception that it’s time- consuming can be off-putting; it does take time, but it’s short bursts of work punctuated by long rests. I recommend breaking down the process into small chunks: prepare the dough and butter block two days before you want to bake, laminate the butter into the dough the next day, then let it rest overnight in the fridge before using.
This recipe is tried and tested and gives excellent results. It is set up so that you can use a standard 250 g (9 oz) block of butter. It may make more pastry than you need, but if you are going to invest the time to make it, you’ll be thankful that you’ve got some ready to go for next time and, once made, it freezes really well.
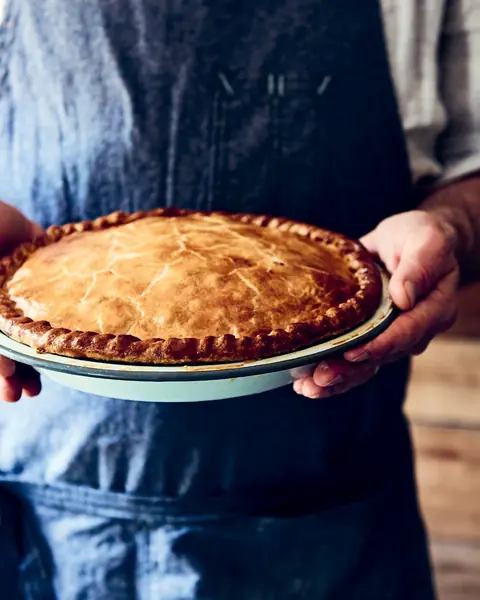
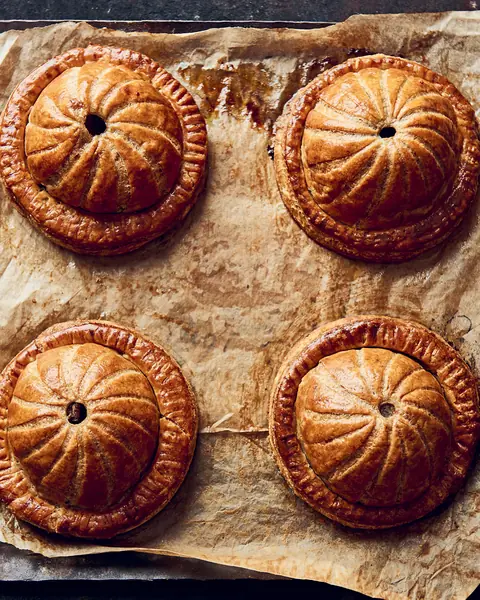
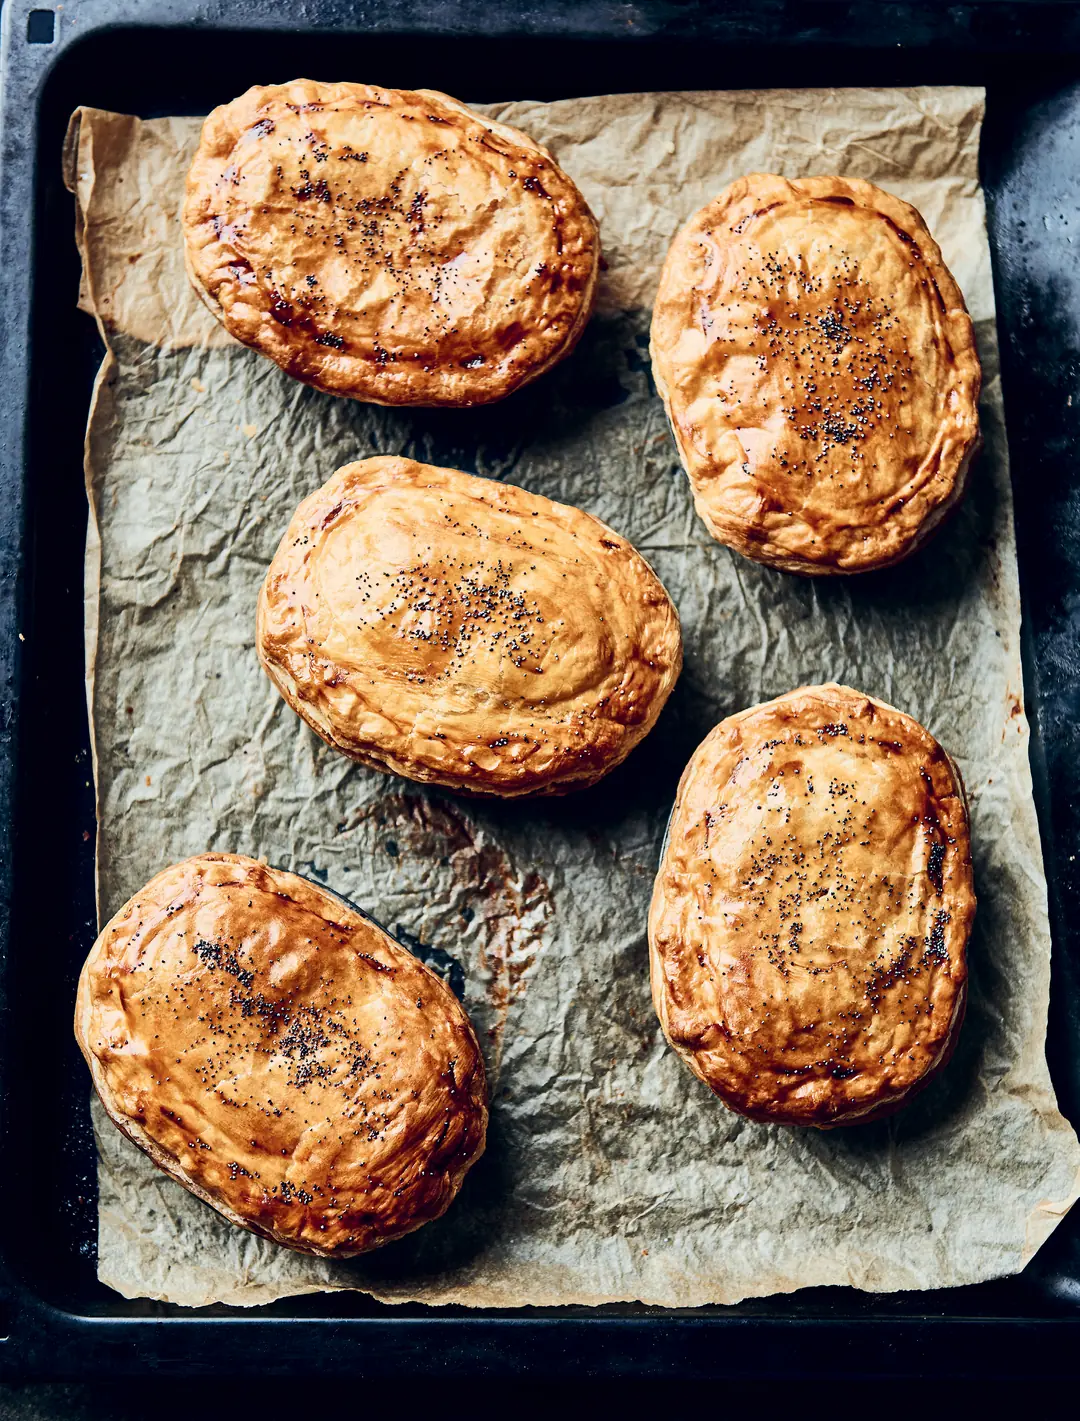
The pictured pies were made using plain puff pastry for the tops.
Makes 830 g (1 lb 13 oz).
Ingredients 7
For Laminating
Wholemeal Variation
Whole Rye Variation
Your new home
for cooking
Turn your recipe chaos into a plan for the week.
Browse 1000+ inspiring creator recipes
Unlimited recipe import from social media, blogs and more
Generate shopping lists and meal plans in seconds with AI
Method 16
Day 1
Take the 70 g (2½ oz) butter out of the fridge, cut it into 1 cm (½ in) cubes and leave to soften slightly for 10 minutes before you start – you want it to be cold but pliable.
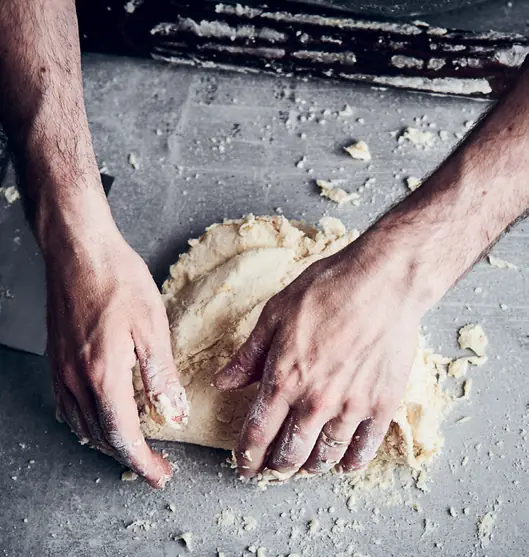
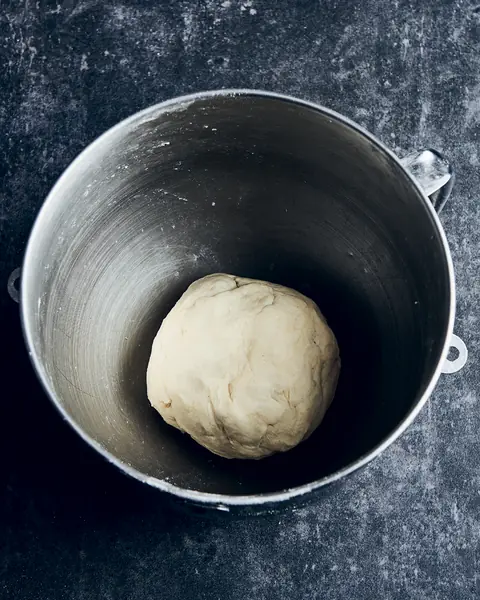
Combine the and in a jug. Put the , and cubes in the bowl of a stand mixer fitted with the paddle attachment. Mix on low speed to break the butter into the flour until you have shards of butter the size of rolled oats still visible.
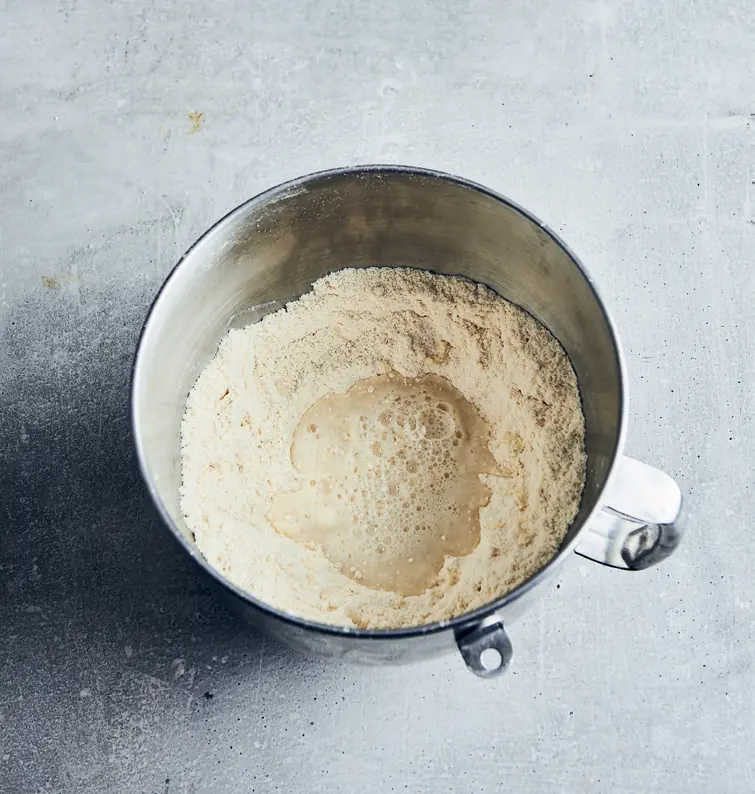
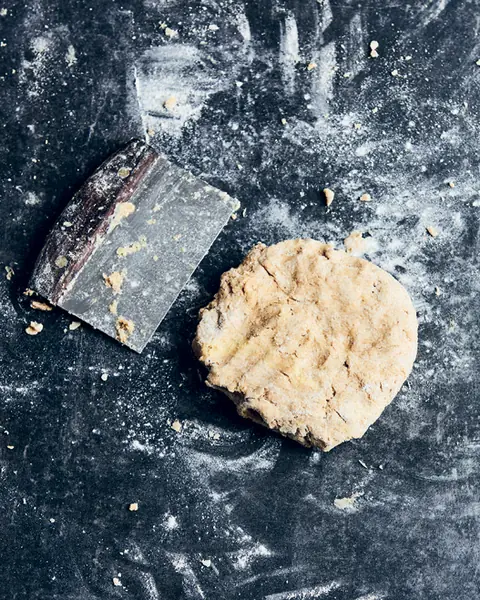
With the mixer running, slowly pour in the vinegar mixture and mix until the dough just comes together. You don’t want any dry pieces, but you need to be careful not to overwork the dough.
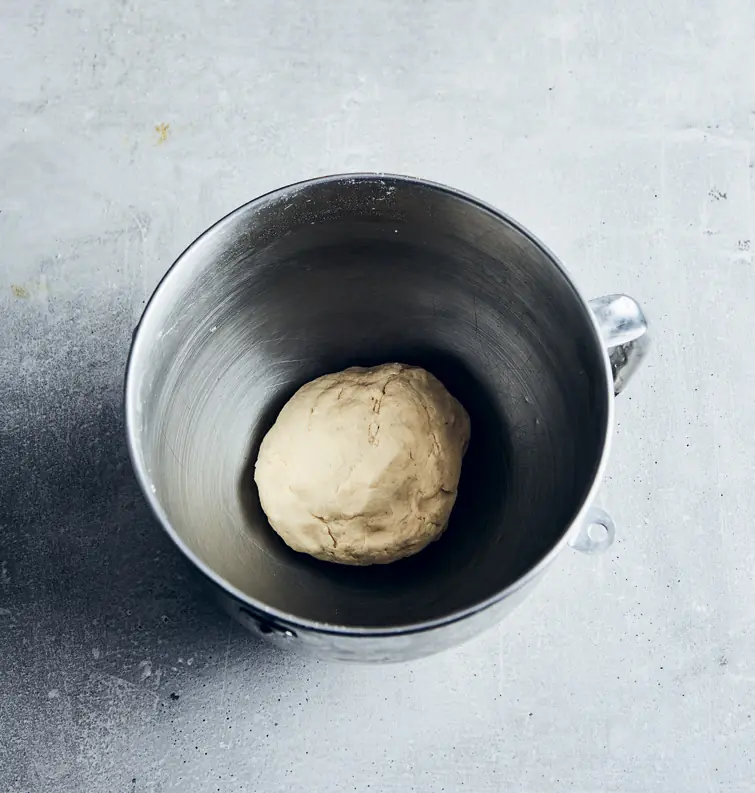
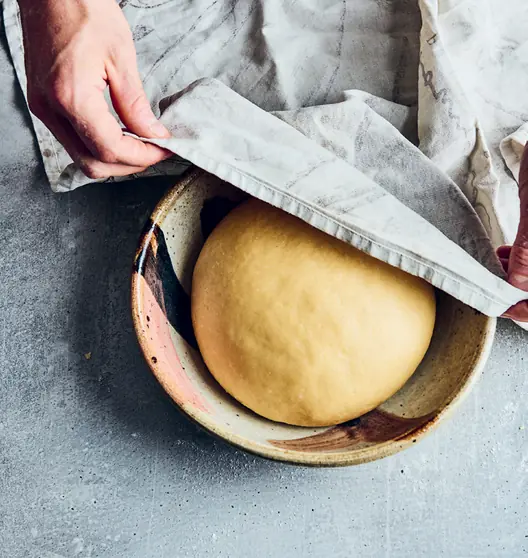
Flatten the dough into a rectangle about 1 cm (½ in) thick. Wrap the dough and rest it in the fridge for 2 hours, or overnight.
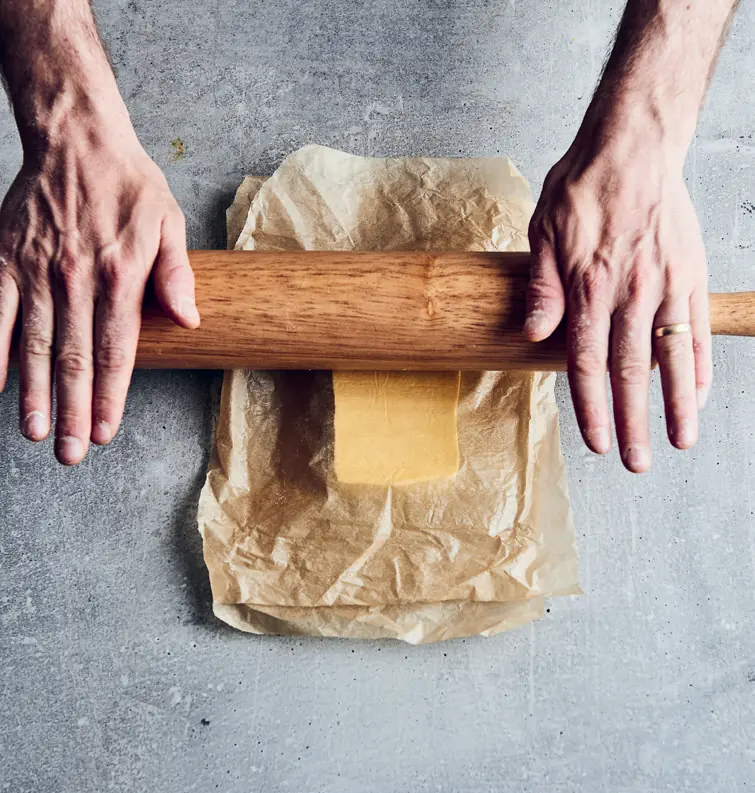
Meanwhile, prepare the for laminating. Place the butter block between two sheets of baking paper and use a rolling pin to roll it into a rectangle roughly measuring 18 × 20 cm (7 × 8 in). Put the butter in the fridge, between the sheets of baking paper, and refrigerate for 2 hours, or overnight.
Day 2
Remove the dough and rolled-out from the fridge about 30 minutes before you laminate the pastry. You want the butter to be malleable but not too soft.
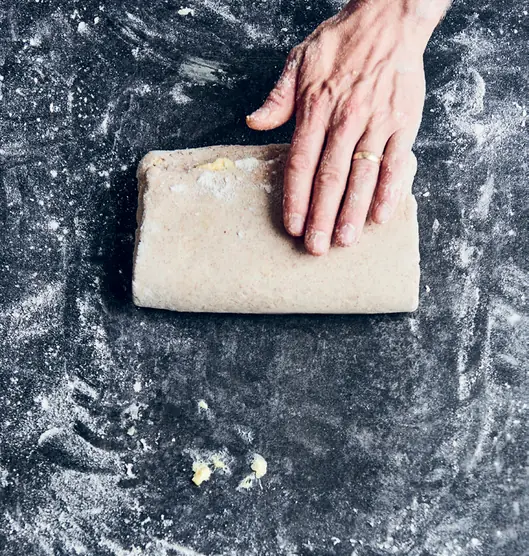
Lightly dust your kitchen bench with . Lay the dough rectangle on the bench with one short side parallel with the edge of the bench. Roll the dough away from you to form a rectangle measuring 20 × 40 cm (8 × 15¾ in), still with the short side closest to you.
Place the in the middle of the dough, with the 20 cm (8 in) side of the butter parallel with the bench.
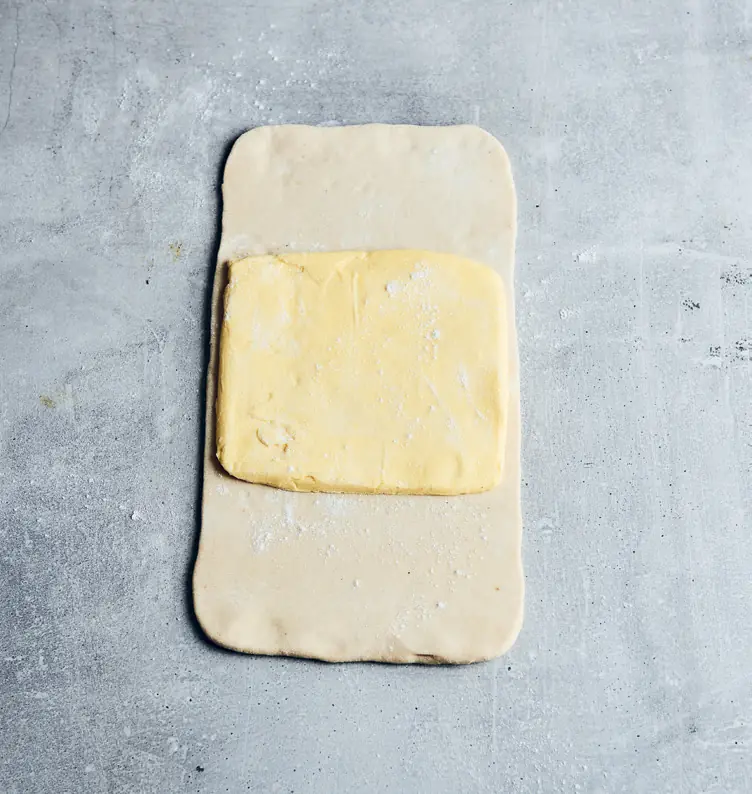
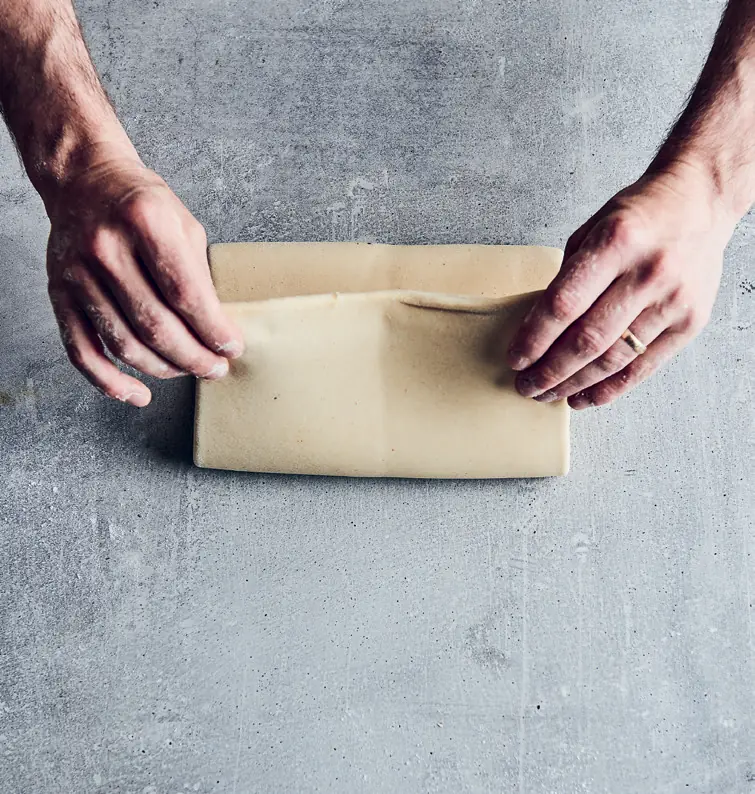
Fold both free short sides of the dough over the top of the so they meet in the middle, encasing the butter. Lightly pinch the ends together to seal (the seam should run parallel with the bench).
Rotate the dough block 90 degrees so the seam is now perpendicular to the bench.

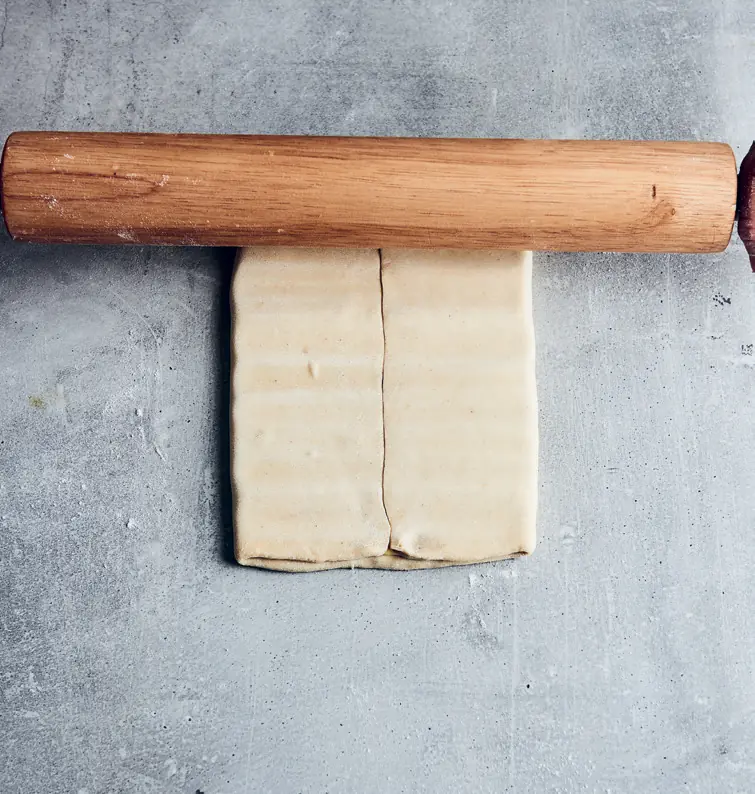
Using your rolling pin, gently press or stamp along the length of the dough to make it more malleable (you can do this at any stage in the process to make the dough easier to work with).
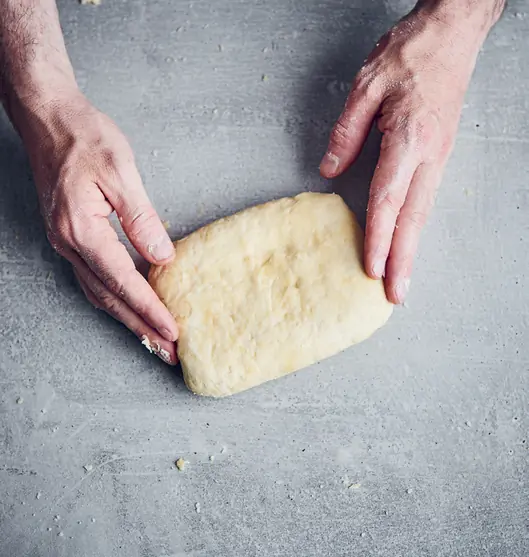
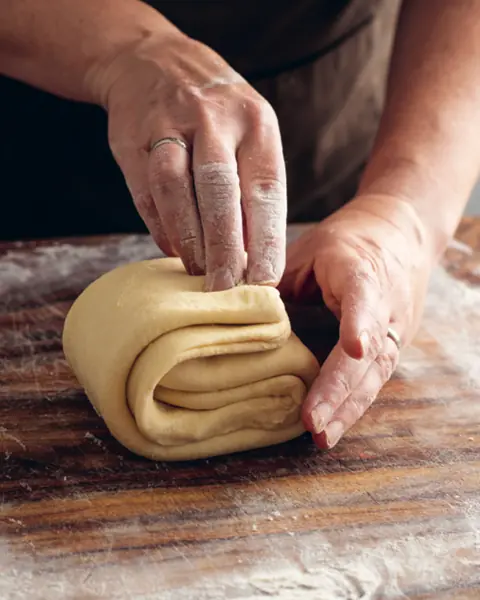
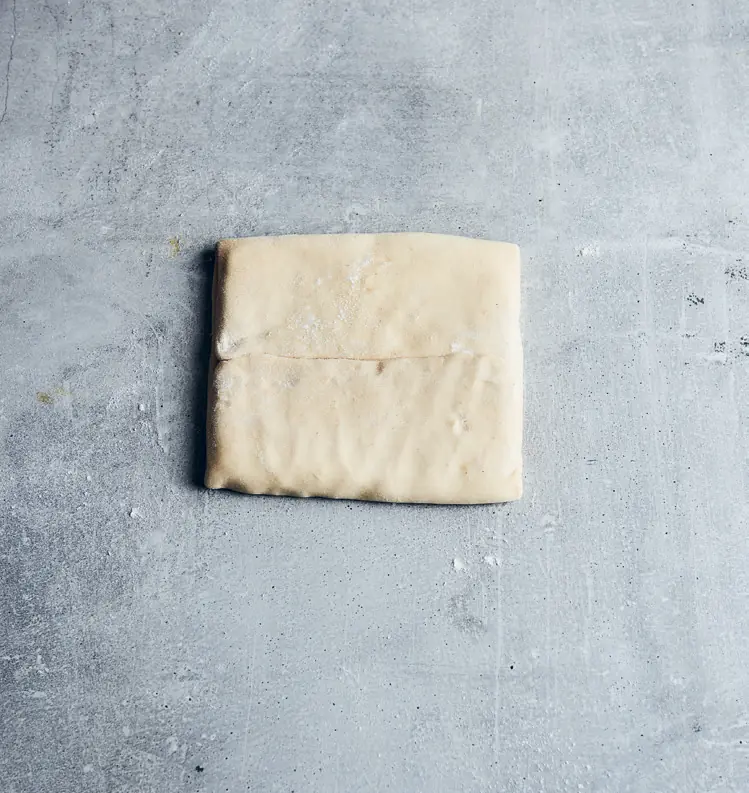
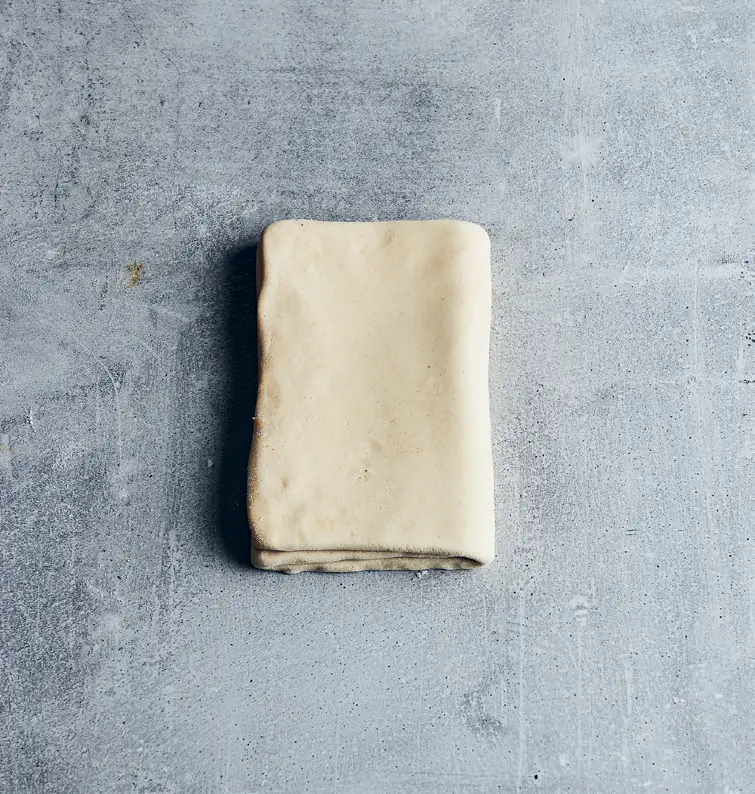
Next, roll the dough away from you to form a 20 × 40 cm (8 × 15¾ in) rectangle, again with one short side parallel with the bench. Starting from the side closest to you, fold the bottom third of the dough into the middle, then the top third over the top of that, as if folding a letter. Refrigerate for 20 minutes.
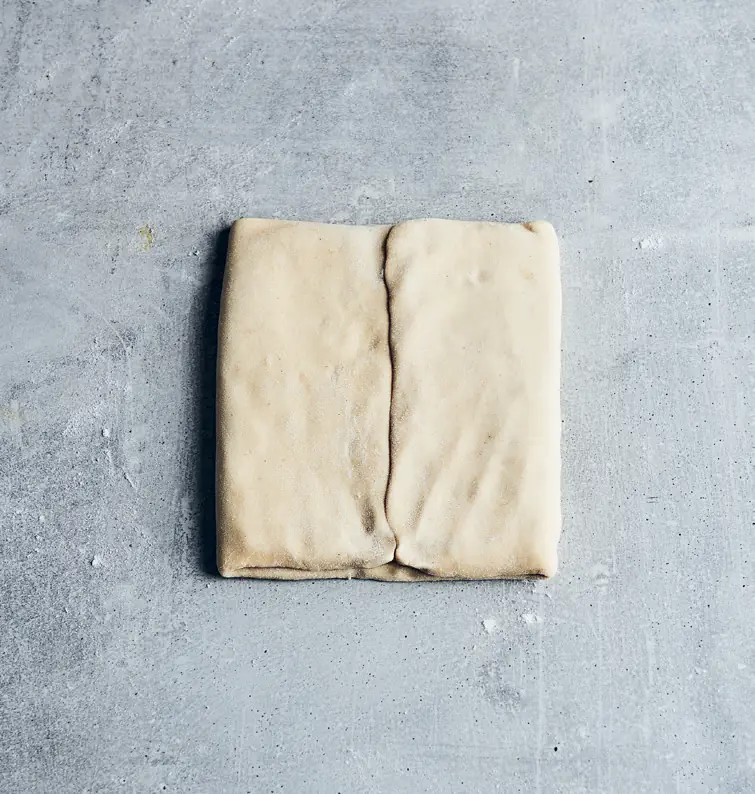
Put your dough on the bench with the open seam on your right-hand side and perpendicular to the edge of the bench. Roll the dough away from you to form a 20 × 40 cm (8 × 15¾ in) rectangle. Fold the bottom third of the dough into the middle.

Then the top third over the top of that, as if folding a letter.
Repeat this step until you have completed four single (or letter) folds in total. Refrigerate your pastry for 1 hour after every two folds to keep the butter from getting too soft (refrigerate for 30 minutes after every fold if it’s a warm day). If you have kept the pastry in the fridge for more than 1 hour, allow to stand for 10–15 minutes before continuing (reduce this time in hot weather).
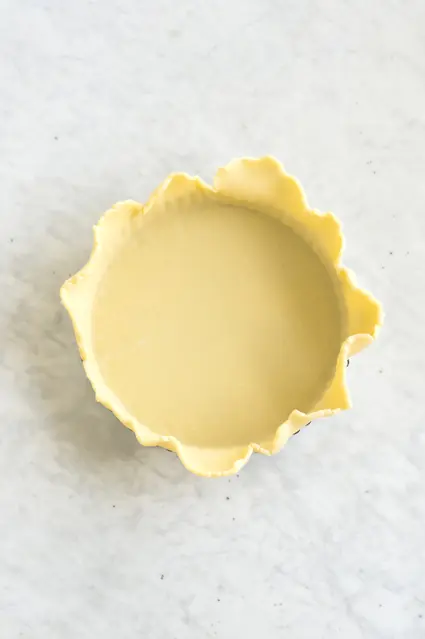
Once all four folds are done, wrap your pastry and rest it in the fridge for at least 6 hours, or preferably overnight, before you use it. Chilling the pastry before using it prevents it from shrinking. Roll it out to whatever thickness you need. The pastry will keep for 3–4 days in the fridge, or up to 1 month in the freezer.

Urbanstead's tips
Take note of the weather and observe how the butter is performing. If it’s too soft, it might need more time in the fridge between folds; if it’s too hard, it will crack. The vinegar helps to prevent discolouration and also helps with the gluten cross-linking.