
Sourdough Starter
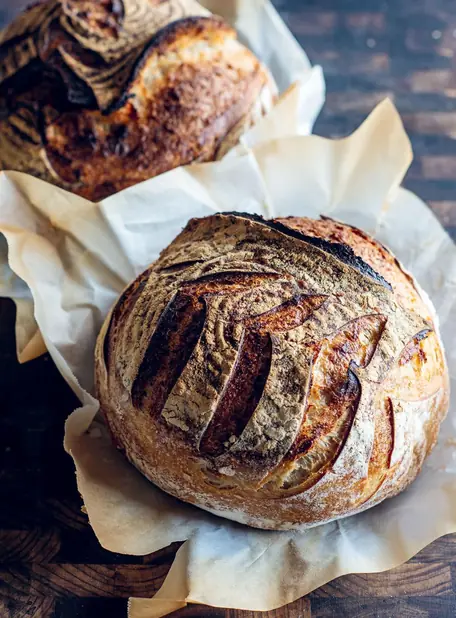
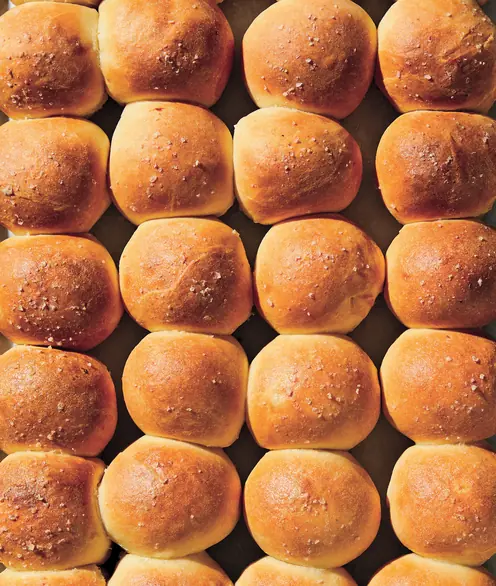
Without getting too preachy, there is an awful lot to love about sourdough. It’s pre-fermented so it’s easy to digest. It’s got great chew due to the fermentation process. It’s got great flavour and structure. It’s basically better bread. But it’s a bit of a pain in the arse to make. You have to maintain the starter. The starter has to be at a fever pitch of activity for the bread to be great, and it only reaches fever pitch if you use it all the time. The whole thing takes ages. After you’ve made your own sourdough, paying $9 for a loaf no longer feels like daylight robbery.
Ingredients 4
To Make Sourdough Starter From Scratch
Getting The Starter Ready For Baking
Maintaining Your Starter For Daily Bread Making
Feed Refrigerated Sourdough Starter On A Weekly Basis
Your new home
for cooking
Turn your recipe chaos into a plan for the week.
Browse 1000+ inspiring creator recipes
Unlimited recipe import from social media, blogs and more
Generate shopping lists and meal plans in seconds with AI
Method 17
Making A Sourdough Starter From Scratch
Mix the and in a glass or plastic jar/container. Cover with a tea towel (dish towel). It shouldn’t be airtight because it needs to be able to consume oxygen and release carbon dioxide.
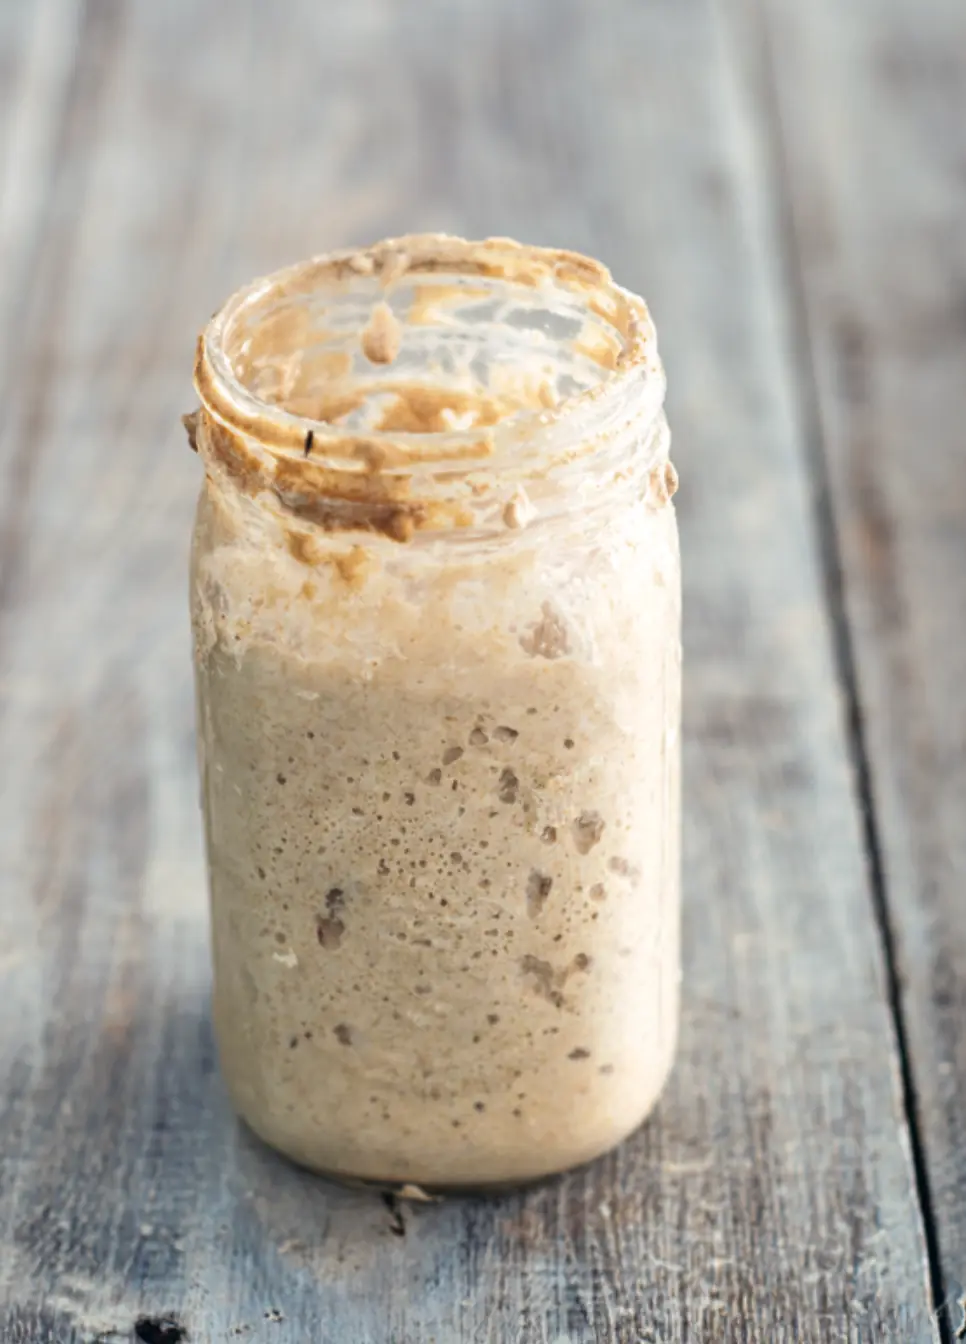
Leave your starter on your kitchen bench for one to two days. Keep an eye out for any signs of activity – the process of feeding it over the next few days is really dependent on what sort of activity you’re getting out of it. What you’re looking for is elevation or growth, and usually bubbles.
After two days, whether you’ve seen activity or not, tip out approximately three-quarters of the starter and give it the same feed again: 100 g flour and 100 g filtered water. Leave it for another two to three days, looking for signs of activity again. You may get some, you may not (weather will affect this, with colder months slowing the process). Just persist with it. It’ll be starting to develop, and those strains of yeast, which are there and are present, need to become more active – and time is the only thing that’s going to permit that.
If you’re not getting activity, keep giving the same feed every couple of days – tip three-quarters out and mix in 100 g flour and 100 g water, continuing to observe, until you do. Once you start getting activity it’s critical to maintain a steady feed and to observe how quickly it’s multiplying. You want it to get to the point where it will visibly increase in size and you’ll get to know how long this takes – some starters are at peak activity in four hours, some at ten hours.
In the next feed that follows some activity, give it the same feed again – tip three-quarters out and add 100 g flour and 100 g water. Observe it at intervals – four, five, six, seven, eight hours later, and see where it peaks/doubles in size and then starts to decline. You can mark your starter jar with a rubber band to make the observation simpler.
Getting The Starter Ready For Baking
When you begin using your starter to bake you will ideally want it to be a little bit before it peaks, because that’s when it’s at its highest activity. When you feed it at that point it’s going to have the greatest ability to multiply again, which is the process you want when you start making the bread.
So now you’ll feed it again to get it ready for baking with. Note how long it took to peak last time and give it this feed that length of time before you want to bake your bread. So, say it took six hours to peak, feed it six hours before you want to bake.
For this pre-bake feed, tip out a portion so that just 100 g (31⁄2 oz) of the sourdough starter remains. Give it 100 g bakers flour (I use an organic unbleached stoneground) and 100 g rye flour (again, I use a whole organic rye) and 200 g filtered water.
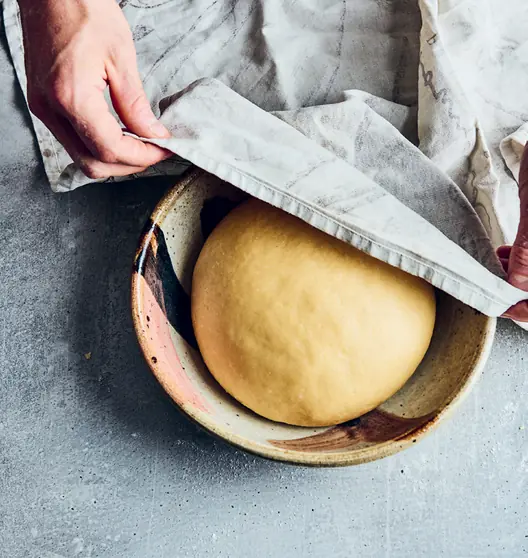
Once it has grown to its peak, remove 250 g to use. That’s the leaven for your bread recipe. A good trick to determine if the starter is ready to bake with is if a teaspoon of it floats in a cup of water.
Maintaining Your Starter For Daily Bread Making
If you want to make a daily practice of baking bread, you’ll want to give your sourdough a consistent feed each time prior to baking. Discard a portion of your starter leaving about 100 g behind, then feed it 200 g flour and 200 g water – I always use half organic bakers flour and half organic whole rye. And then use it when it’s at its peak.
If you don’t want to use it the next day, continue to feed in smaller amounts, such as 100g flour and 100 g water, every couple of days, discarding a decent portion first.
Feed Refrigerated Sourdough Starter On A Weekly Basis
If you do not bake often, maybe only weekly or monthly, it may be more practical to keep your sourdough starter in the refrigerator, in a tightly closed container, and feed it once a week.
Remove at least 50 g starter from the refrigerator. Discard the remaining starter.
Feed the starter with and . Use a scale to measure the ingredients and combine equal amounts by weight of starter, water and flour: 50 g starter, 50 g water, 50 g flour. Again, I always use half organic wheat flour and half organic rye flour.
Cover and let the starter sit for 1–2 hours at room temperature, until light and bubbly.
Put a tight lid on the jar and return to the refrigerator.
Repeat weekly even when not baking with your sourdough culture.